
Soft, fluffy, and utterly irresistible, these No-Yeast Homemade Donuts are perfect for satisfying your sweet tooth without the wait. With a quick 25-minute prep and 30 minutes of cooking, you’ll have golden, pillowy donuts ready to devour. The simplicity of this recipe means you can whip up a batch anytime, no yeast or lengthy rising required.
Each bite delivers a lightly crisp exterior that gives way to a tender, melt-in-your-mouth center, making them impossible to resist. Customize them with your favorite glazes or sprinkles for a treat that’s as fun to make as it is to eat. Perfect for breakfast, dessert, or a cozy weekend indulgence, these donuts are sure to delight.
The flavors are as comforting as they are versatile—think warm cinnamon sugar, rich chocolate glaze, or tangy lemon drizzle. These donuts are baked to perfection, offering a golden-brown finish and a delightful aroma that fills your kitchen with warmth.
Whether you’re sharing them with friends, family, or treating yourself, they’re guaranteed to bring smiles all around. With a total time of just 55 minutes, you can enjoy the magic of homemade donuts without the fuss. So grab your apron and get ready to create a batch of these easy, delicious treats that’ll have everyone asking for more!
Gather Your Ingredients
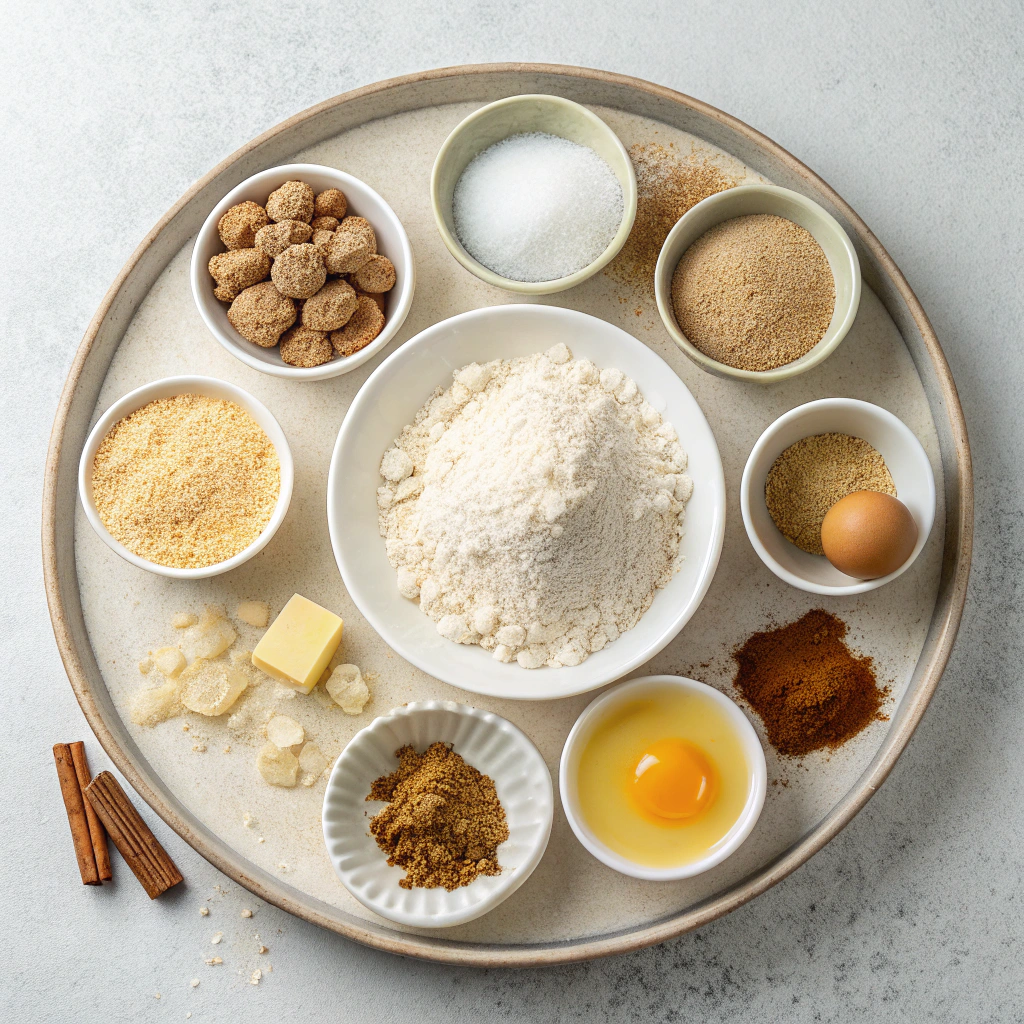
- 3 ½ cups (1 lb 2 oz/497 g) all-purpose flour
- ¾ cup (6 oz/170 g) granulated sugar
- 2 teaspoons baking powder
- ½ teaspoon baking soda
- 1 teaspoon salt
- 1 teaspoon ground cinnamon
- 1½ teaspoon ground nutmeg (optional)
- 2 large eggs (*see note for egg substitute)
- ¾ cup (6 fl oz/170 ml) buttermilk
- ¼ cup (2 oz/57 g) butter, melted
- 1 teaspoon vanilla extract
- Vegetable oil, for frying
Step-by-Step Donut Making
- Prepare your frying station: Fill a medium pan with about 1 inch of vegetable oil. Line a baking tray with a wire rack and paper towels for draining, and set aside.
- Mix dry ingredients: In a medium bowl, combine flour, sugar, baking powder, baking soda, salt, cinnamon, and nutmeg (if using). Set aside.
- Combine wet ingredients: In a large bowl, whisk together eggs, buttermilk, melted butter, and vanilla extract until well combined.
- Create the dough: Gradually mix the dry ingredients into the wet ingredients using a whisk until a sticky dough forms.
- Shape the dough: Transfer the dough to a lightly floured surface. Gently bring the dough together, then press it into a 12-inch rectangle about ½-inch thick using your palms.
- Heat the oil: While preparing the donuts, heat the oil over medium-low heat (5-7 minutes).
- Cut out donuts: Using floured 3-inch and 1-inch cookie cutters, cut out donuts and donut holes. Re-roll and cut any leftover dough until all is used.
- Test oil temperature: Carefully drop a donut hole into the oil. If it puffs up and turns golden brown in about 2 minutes per side, the oil is ready.
- Fry the donuts: Cook donuts for about 3 minutes per side (2 minutes for holes), or until golden brown. Always stay attentive during frying.
- Drain and cool: Use a fish turner, tongs, or spider to transfer cooked donuts to the prepared wire rack. Repeat with remaining dough.
- Add finishing touches: Toss in cinnamon sugar while warm or glaze according to your preference. Let set on the wire rack.
- Serve and savor: Enjoy your homemade donuts fresh. They’re best eaten within 24 hours of making!
Delicious Toppings and Glazes to Elevate Your Donuts
Take your no-yeast donuts to the next level with these easy topping ideas! For a classic touch, toss warm donuts in a mix of 1/2 cup sugar + 1 tablespoon cinnamon.
For a glossy finish, try a simple glaze: whisk 1 cup powdered sugar, 2-3 tablespoons milk, and 1/2 teaspoon vanilla extract until smooth. Feeling adventurous? Dip in melted chocolate or drizzle with caramel sauce. Don’t forget the sprinkles for a festive touch!
How to Store and Keep Your Donuts Fresh
These donuts are best enjoyed fresh, but if you have leftovers, store them in an airtight container at room temperature for up to 24 hours. For longer storage, freeze them in a single layer on a baking sheet, then transfer to a freezer-safe bag for up to 1 month. To reheat, pop them in the oven at 350°F (175°C) for 5-7 minutes until warm and crispy.
Quick Tips for Perfect Donuts Every Time
To save time, prep your dry and wet ingredients in advance. Use a candy thermometer to ensure your oil stays at the ideal frying temperature of 350°F (175°C).
If you don’t have buttermilk, make a substitute by adding 1 tablespoon lemon juice or vinegar to 3/4 cup milk and letting it sit for 5 minutes. For egg-free donuts, replace each egg with 1/4 cup unsweetened applesauce.
Fun Variations to Mix Up Your Donut Game
Experiment with flavors by adding zest of 1 lemon or orange to the dough for a citrusy twist. For chocolate lovers, mix in 1/4 cup cocoa powder with the dry ingredients. You can also fold in 1/2 cup mini chocolate chips or chopped nuts for added texture. Feeling fancy? Fill your donuts with jam or pastry cream using a piping bag.
Essential Equipment for Donut Success
Make sure you have the right tools for the job! A 3-inch round cookie cutter and a 1-inch cutter are key for shaping your donuts. A wire rack is essential for draining excess oil, and a fish turner or spider makes flipping donuts in hot oil safer. If you’re glazing, keep a shallow dish handy for dipping. Happy frying!
No-Yeast Homemade Donuts
Ingredients
- 3 ½ cups all-purpose flour 1 lb 2 oz/497 g
- ¾ cup granulated sugar 6 oz/170 g
- 2 teaspoons baking powder
- ½ teaspoon baking soda
- 1 teaspoon salt
- 1 teaspoon ground cinnamon
- 1½ teaspoon ground nutmeg optional
- 2 large eggs *
- ¾ cup buttermilk 6 fl oz/170 ml
- ¼ cup butter 2 oz/57 g, melted
- 1 teaspoon vanilla extract
- Vegetable oil for frying
Instructions
- Fill a medium size pan with about 1 inch of vegetable oil then line a baking tray with a wire rack and paper towel for the donuts to cool and drain, set aside while making the dough.
- In a medium bowl combine the flour, sugar, baking powder, baking soda, salt and spices, set aside.
- In another large bowl combine the eggs, buttermilk, melted butter and vanilla extract. (Check notes for egg substitute)
- Using a whisk, mix the dry ingredients into the wet until a sticky dough is formed.
- Transfer the dough to a lightly floured work surface and bring the dough together. Then use your palms to press the dough into roughly a 12-inch rectangle about ½-inch thick.
- Before cutting out your dough, heat the oil over medium-low heat (this should take 5-7 minutes).
- Cut out your donuts using a floured 3-inch round cookie cutter and a 1-inch cookie cutter, cut out the donuts and the donut holes. You should be able to cut out about 12 donuts. If you have any extra dough left after cutting out, stick it all together, press it out and repeat the process until you have used up all of the dough.
- Transfer your cut out donuts and donut holes to a baking tray and place the tray near your stove so you can easily place the donuts into the oil.
- To make sure your oil is the right temperature test it with a donut hole. If it’s hot enough this should puff up and be golden brown after cooking for roughly 2 minutes per side.
- When ready to fry carefully drop the donuts into the oil. Allow the donuts to fry for about 3 minutes per side (donut holes for 2), or until golden brown.
- Once puffed up and golden brown on both sides carefully remove from the oil using a fish turner, tongs or spider. Be careful as the oil will be very hot. DO NOT walk away from the pan at any stage of frying. If you need assistance with this step ask for help.
- After transferring the cooked donuts to your wire rack, repeat the process with the remaining donuts and donut holes until they are all fried off.
- If tossing in cinnamon sugar, this can be done as soon as the donuts are cool enough to handle.
- If glazing the donuts do this while still warm so the glaze soaks in. Follow my directions for 5 Donut Glazes. Dunk both sides in the glaze. Return to wire rack to set (you may want to do this 2 times for an extra thick layer of glaze).
- Enjoy immediately. These donuts are best eaten within 24 hours of cooking.