

This dairy-free condensed milk recipe is a game-changer for creamy, indulgent desserts without the dairy. In just 35 minutes, you’ll create a silky-smooth, rich concoction that’s perfect for drizzling, baking, or sweetening your favorite treats. The blend of coconut milk and natural sweeteners delivers a luscious texture and a hint of tropical flavor that’s utterly irresistible.
With only 5 minutes of prep and a quick simmer, this recipe is as easy as it is versatile. The result is a velvety, golden syrup that’s thick, sweet, and perfect for vegan lattes, fudgy brownies, or even homemade ice cream. It’s a must-try for anyone craving dairy-free decadence with minimal effort.
What You’ll Need
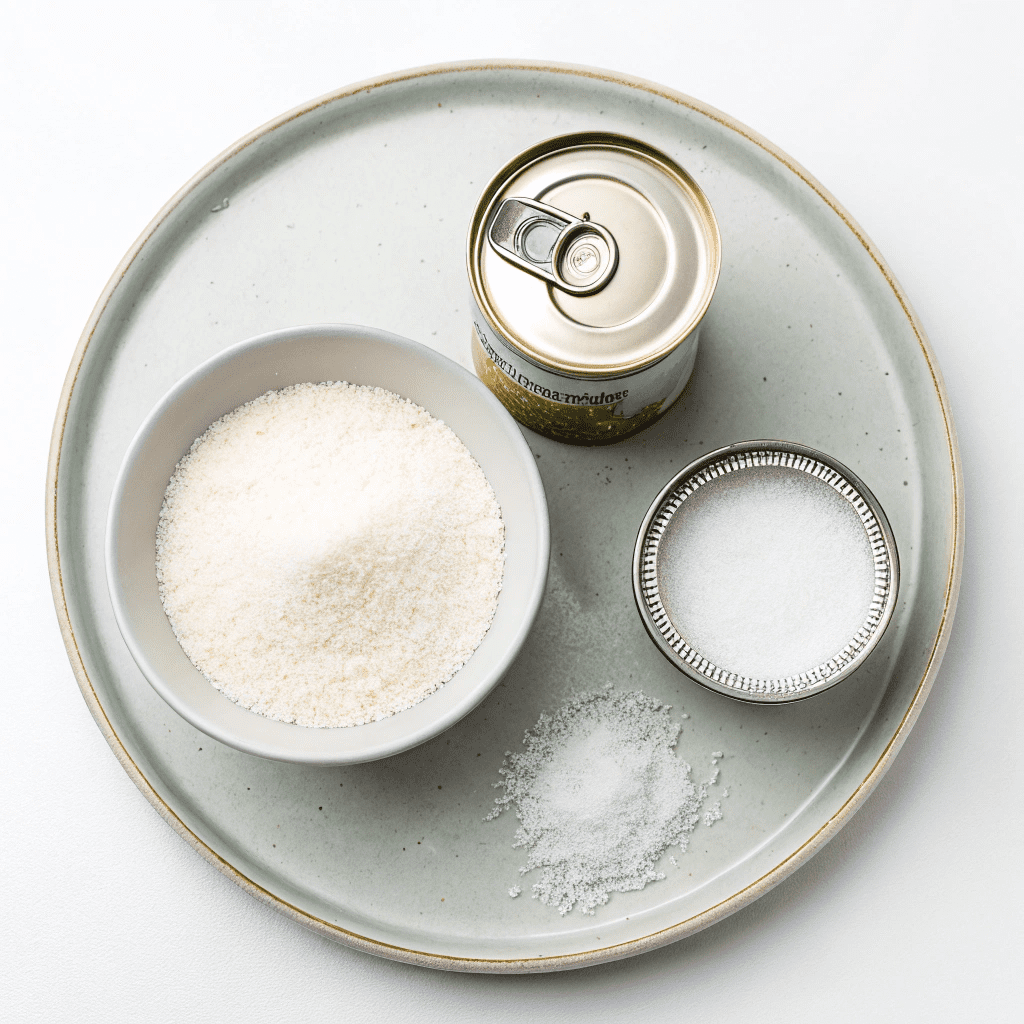
- 1 can (14 oz / 414 ml / 1¾ cups) coconut milk (full fat or low fat)*
- ⅔ cups (5 ⅓ oz / 150g) white sugar
Step-by-Step Instructions
- Combine ingredients: Add the coconut milk and sugar into a heavy-bottomed saucepan.
- Dissolve sugar: Heat the mixture on low heat, stirring occasionally, until the sugar has completely dissolved.
- Simmer gently: Once the sugar is dissolved, bring the mix to a gentle simmer over low/medium heat. Do not stir once it starts simmering to prevent cracking or crystallization.
- Reduce and thicken: Let the mixture simmer for 30-40 minutes, or until it has darkened to an almost grey color, reduced by half, and thickened. (After about 15 minutes, you’ll notice it darkening and thickening – this is normal.)
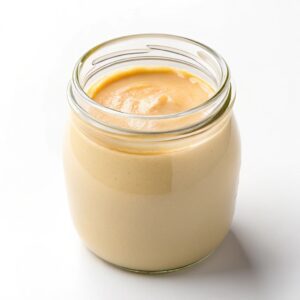
- Remove from heat: When ready, remove the saucepan from the heat. Pour the condensed milk into a jar to cool. Avoid stirring in any sugary bits from the rim of the pot, as this can cause cracking.
- Cool and store: Let the condensed milk cool completely before sealing it with an airtight lid. Store in the fridge for up to several months. Don’t forget to label it!
Creative Ways to Use Your Dairy-Free Condensed Milk
This versatile dairy-free condensed milk can elevate a variety of dishes! Drizzle it over *pancakes or waffles* for a sweet breakfast treat, or use it as a base for *dairy-free ice cream*. It’s also perfect for baking—try adding it to *vegan fudge*, *cookies*, or *pumpkin pie* for a rich, creamy flavor without the dairy.
Storage Tips for Long-Lasting Freshness
Once your condensed milk is cooled, transfer it to a clean, airtight jar and store it in the fridge. It will stay fresh for *up to 3 months*—just make sure to label it with the date! If you notice any separation upon storing, give it a gentle stir before using. For longer storage, you can freeze it in small portions for *up to 6 months*. ❄️
Quick Time-Saving Hacks
For a faster process, use a *wider saucepan* to increase surface area, which speeds up evaporation. Keep a close eye on the mixture during the final 10 minutes to prevent over-reducing. If you’re short on time, you can also prepare a larger batch and store it for future recipes—it’s a great way to save time on busy days! ⏱️
Common Questions Answered
Wondering if you can use *low-fat coconut milk*? Yes, but keep in mind it may result in a slightly thinner consistency. Can you replace the sugar with a *liquid sweetener* like maple syrup? Unfortunately, this can affect the thickening process, so stick to granulated sugar for best results. If your mixture crystallizes, it’s likely due to stirring during simmering—patience is key!
Equipment You’ll Need for Success
A *heavy-bottomed saucepan* is essential to prevent burning, and a *wooden spoon* works best for stirring without scratching your pan. Use a *heat-resistant jar* for storing the condensed milk to avoid any risk of cracking. A *candy thermometer* can also be handy to monitor the temperature, though it’s not necessary if you keep a watchful eye.
How to Make Dairy Free Condensed Milk
Equipment
- heavy-bottomed saucepan
Ingredients
- 1 can 14 oz/414 ml/1¾cups coconut milk full fat or low fat
- ⅔ cups 5 ⅓ oz / 150g white sugar
Instructions
- Add the coconut milk and sugar into a heavy bottomed saucepan
- Heat it on a low heat until the sugar has dissolved
- Once all of the sugar has dissolved bring the mix to a simmer over low/medium heat. Do not stir once the mix starts to simmer otherwise it can crack and crystalize
- Gently simmer for roughly 30 guard 40 minutes, or until the milk has darkened to an almost grey color,has reduced by half and thickened (After about 15 minutes, you’ll notice that the milk will start to turn dark and thicken – that’s ok and is exactly what’s supposed to happen)
- When ready, remove from the heat and pour into a jar to cool. (if there are sugary bits hanging around the rim of your pot don’t stir them into your condensed milk, this can also crack your mix)
- Let the condensed milk cool completely before putting on the air tight lid.
- Store in a jar in the fridge and it will last for months. Don’t forget to label it. 🙂

