

This Garlic and Chive Cream Cheese is a creamy, dreamy spread that elevates any snack or meal in just 12 minutes. Its velvety texture, infused with the bold, savory notes of garlic and the fresh, herbaceous kick of chives, is utterly irresistible. Perfect for bagels, crackers, or even as a dip, it’s a versatile star that’s quick to whip up yet feels gourmet.
With only 10 minutes of prep and 2 minutes of blending, this recipe is a lifesaver for busy days or last-minute gatherings. The rich, smooth cream cheese base pairs beautifully with the bright, zesty flavors, creating a balance that’s both comforting and exciting. It’s a simple indulgence that promises to impress every time.
Fresh & Flavorful Ingredients
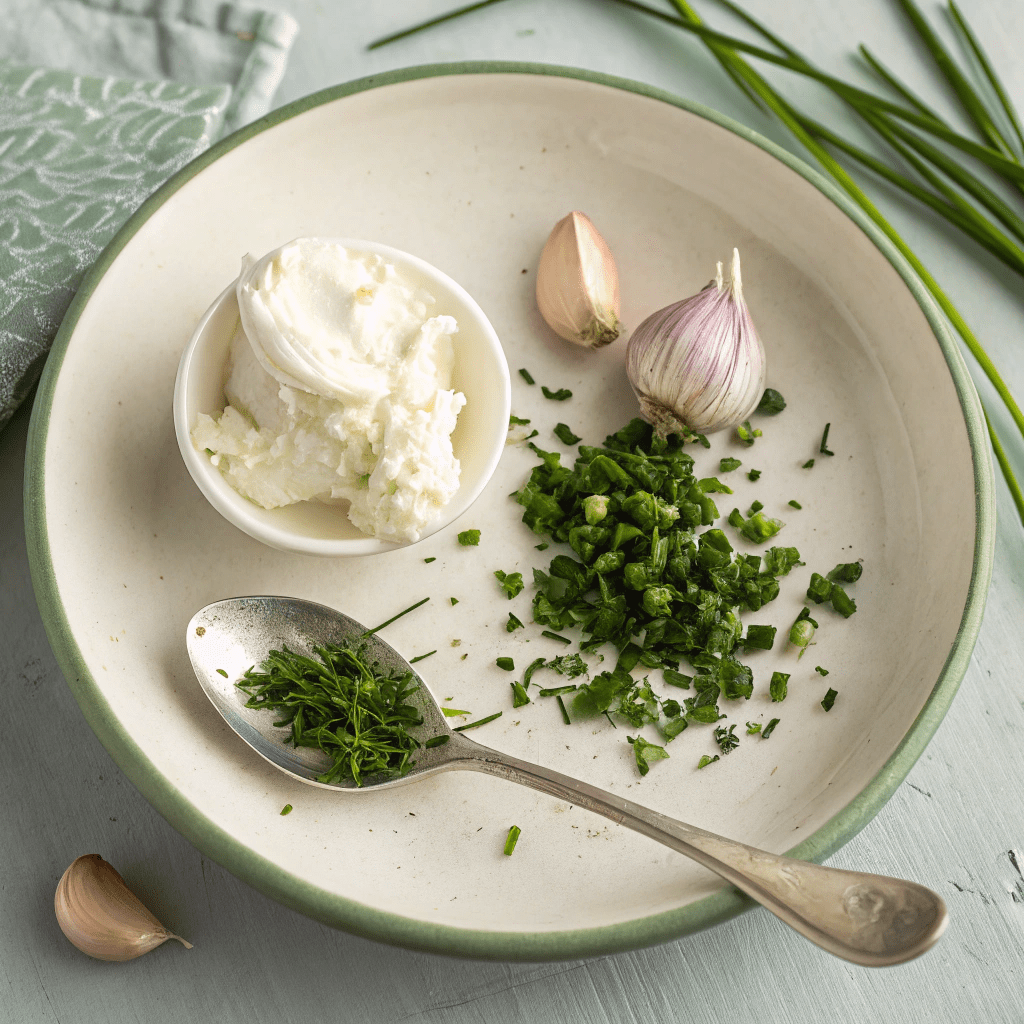
- 2 to 4 cloves garlic, crushed (adjust to taste; use more for a stronger garlic flavor)
- 1 tablespoon fresh chives, minced (substitute with 1 teaspoon dried chives if fresh isn’t available)
- 1 recipe Whipped Cream Cheese (store-bought or homemade; ensure it’s at room temperature for easier mixing)
Simple Steps to Creamy Perfection
- In a medium bowl, combine the crushed garlic and minced chives. Stir well to evenly distribute the flavors.
- Add the whipped cream cheese to the bowl. Use a spatula or spoon to gently fold and stir until the mixture is smooth and fully combined.
- Taste and adjust the garlic or chives if needed. For a smoother texture, you can blend the mixture for 2 minutes using a hand mixer or food processor.
- Serve immediately as a spread for bagels, crackers, or veggies. Alternatively, store in an airtight container in the refrigerator for up to 5 days.
Perfect Pairings: Serving Suggestions
This Garlic and Chive Cream Cheese is incredibly versatile! Spread it on toasted bagels, crackers, or crusty bread for a quick snack. It also makes a delicious dip for fresh veggies like carrots, celery, or bell peppers. For a heartier option, use it as a creamy filling for stuffed chicken breasts or as a topping for baked potatoes.
Mix It Up: Recipe Variations
Want to customize this recipe? Try adding a pinch of smoked paprika or a squeeze of lemon juice for a tangy twist. For a richer flavor, mix in a tablespoon of grated Parmesan cheese. If you prefer a milder taste, roast the garlic before adding it to the cream cheese. The possibilities are endless!
Keep It Fresh: Storage Tips
Store your Garlic and Chive Cream Cheese in an airtight container in the refrigerator for up to 5 days. If you notice any separation, simply give it a quick stir before serving. For longer storage, you can freeze it in a freezer-safe container for up to 2 months—just thaw in the fridge overnight before using.
Quick Prep: Time-Saving Tips
To save time, use pre-minced garlic or a garlic press instead of crushing the cloves by hand. You can also prep the chives in advance—chop them up and store them in a small container in the fridge for up to 3 days. This way, you can whip up this recipe in just a few minutes!
Kitchen Essentials: Equipment Guidance
All you need is a medium-sized mixing bowl and a sturdy spoon or spatula to combine the ingredients. If you want an extra smooth texture, a hand mixer can help blend everything evenly. For easy storage, grab an airtight container to keep your cream cheese fresh and ready to use.

Garlic And Chive Cream Cheese
Ingredients
- 2 to 4 cloves garlic crushed
- 1 tablespoon fresh chives minced
- 1 recipe Whipped Cream Cheese
Instructions
- In a medium bowl, stir together the desired amount of garlic and chives.
- Add the whipped cream cheese and stir to combine.
- Serve immediately or store in an airtight container in the refrigerator for up to 5 days.

