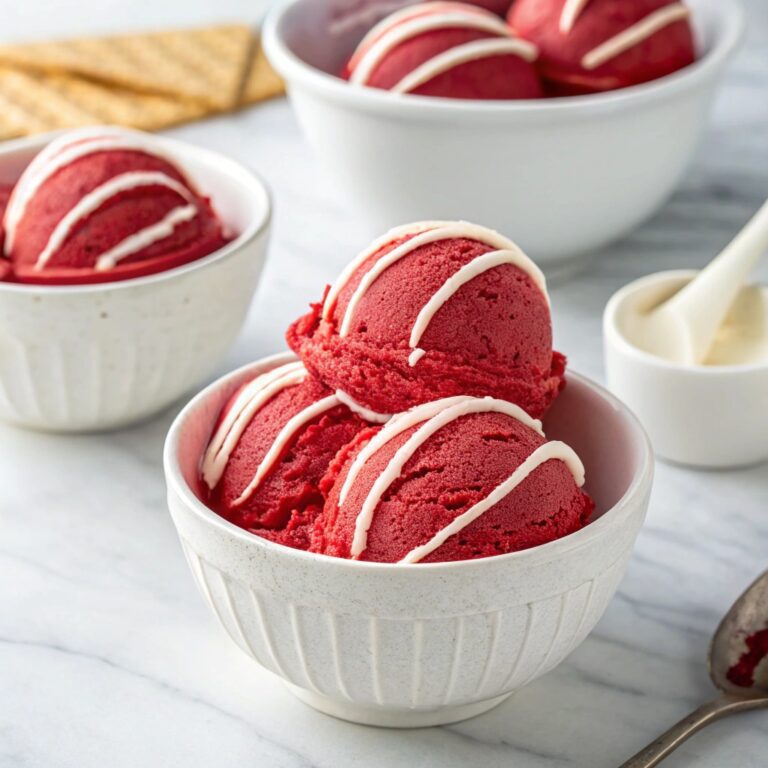
This Homemade Red Velvet Ice Cream brings together the rich, velvety flavors of cocoa and cream in a no-machine treat. With just 15 minutes of prep, you’ll create a luscious dessert that’s smooth, creamy, and bursting with nostalgia. The vibrant red hue and subtle chocolate undertones make it as visually stunning as it is delicious. Perfect for impressing guests or indulging solo, this recipe is a game-changer for ice cream lovers.
Every spoonful delivers a dreamy texture that melts on your tongue, paired with the classic tang of buttermilk and a hint of sweetness. Whether you’re craving a quick dessert or a showstopping finale, this ice cream is effortless yet unforgettable. Dive into a bowl of pure joy—no fancy equipment required!
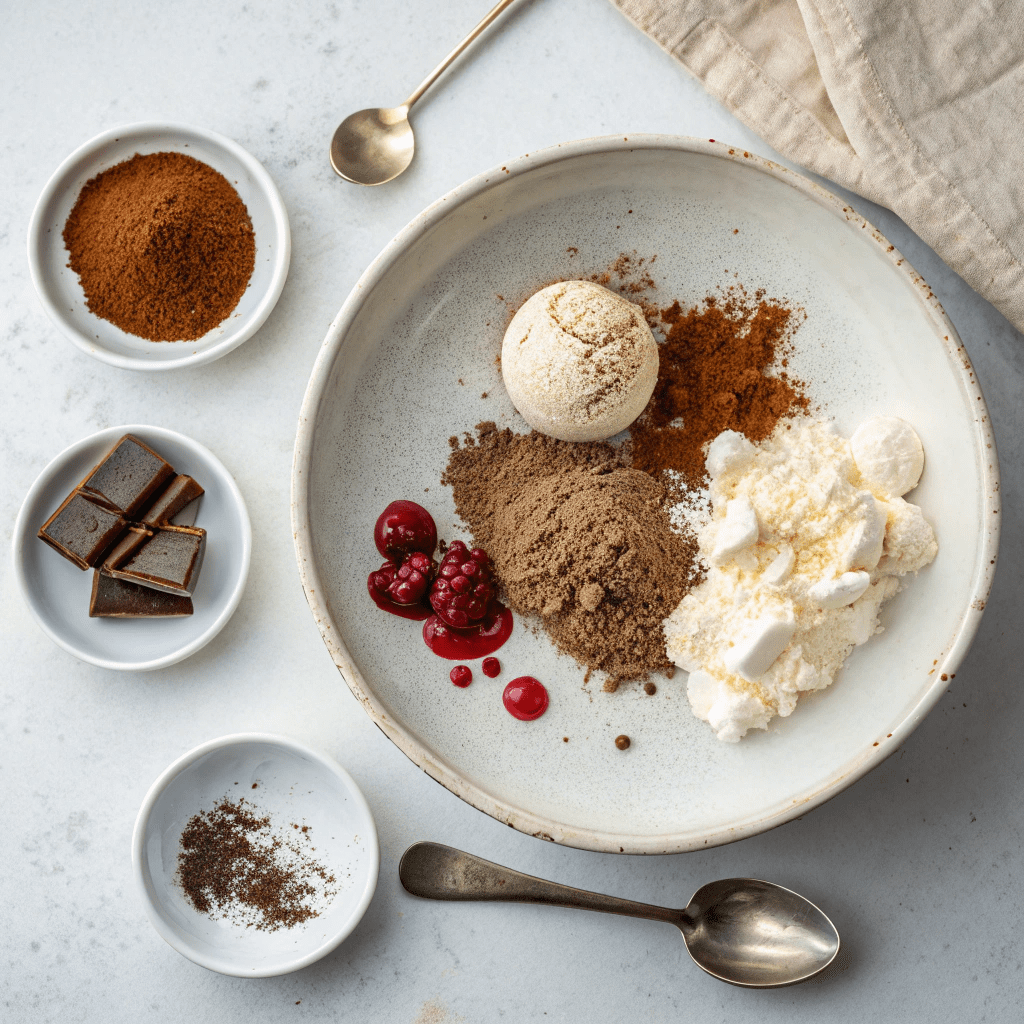
What You’ll Need

- 2 cups (16oz/450ml) base no-machine ice cream recipe (store-bought or homemade)
- 1 tbsp cocoa powder (unsweetened for best results)
- 1 tsp ground cinnamon
- 1 tsp vanilla extract (pure extract for richer flavor)
- 3-4 tsp red food dye (gel color preferred for vibrant hue and less liquid)
- ¼ cup (2oz/60g) cream cheese frosting (store-bought or homemade)
How to Make It
- Place the 2 cups of ice cream base in a large mixing bowl.
- Add the cocoa powder, ground cinnamon, vanilla extract, and red food dye to the bowl. Mix thoroughly until the color is even and all ingredients are well combined.
- Gently swirl in the cream cheese frosting using a spatula or spoon. Aim to create ripples rather than fully mixing it in for a marbled effect.
- Taste the mixture to ensure it’s to your liking. Adjust sweetness or flavor if needed.
- Transfer the mixture to a freezer-safe container. Cover tightly and freeze for 6 hours or overnight until firm.
- Once fully frozen, scoop and serve! Enjoy your creamy, homemade red velvet ice cream.
Perfect Pairings: Toppings and Sauces
Elevate your Homemade Red Velvet Ice Cream with a drizzle of chocolate ganache or a sprinkle of crushed red velvet cake crumbs. For a tangy twist, add a dollop of cream cheese glaze or fresh berries. These toppings not only enhance the flavor but also add a delightful texture contrast.
Serve It Right: Presentation Tips
Serve your ice cream in waffle cones or elegant dessert bowls for a charming presentation. Garnish with a few mini chocolate chips or a light dusting of cocoa powder. For a festive touch, add a sprig of mint or a few edible flowers to make it Instagram-worthy.
Keep It Fresh: Storage Tips
Store your ice cream in an airtight container to prevent freezer burn and maintain its creamy texture. Place a piece of parchment paper directly on the surface before sealing to keep it fresh. Enjoy within 2 weeks for the best flavor and consistency.
Mix It Up: Recipe Variations
Experiment with different flavors by swapping the cream cheese frosting for vanilla or chocolate frosting. Add a handful of white chocolate chips or chopped nuts for extra crunch. For a boozy twist, mix in a splash of Baileys or Kahlúa before freezing.
Quick Tips: Time-Saving Hacks
Prepare your ice cream base ahead of time and store it in the fridge until you’re ready to mix in the Red Velvet ingredients. Use pre-made cream cheese frosting to save time without compromising on taste. Freeze in individual portions for quick, ready-to-serve treats.

Homemade Red Velvet Ice Cream (No Machine)
Ingredients
- 2 cup base no machine ice cream recipe 16oz/ 450ml
- 1 tbsp cocoa powder
- 1 tsp ground Cinnamon
- 1 tsp vanilla extract
- 3-4 tsp red food dye Gel color preferably because you used less
- ¼ cup cream cheese frosting 2oz/60g
Instructions
- Place 2 cups of your ice cream base in a large bowl. Mix all of the Red Velvet ingredients together minus the frosting. Swirl in the frosting at the end and try and maintain the ripples. Taste and then freeze for 6 hours or overnight.


