

Making homemade ice cream has never been easier or more fun than with this 10-minute jar method. Creamy, dreamy, and endlessly customizable, this recipe lets you whip up a batch of smooth, velvety ice cream without any fancy equipment. Whether you’re craving rich chocolate, tangy fruit, or a swirl of caramel, the possibilities are as limitless as your imagination. Perfect for a quick treat or a family activity, this method delivers restaurant-quality texture in a fraction of the time.
Feel the satisfying shake of the jar as the ingredients transform into a luscious, chilled dessert. The result is a silky-smooth scoop that melts on your tongue, bursting with fresh, vibrant flavors. With just a few simple steps, you’ll create a treat that’s as fun to make as it is to eat. It’s the ultimate way to cool down and indulge in something truly special.
Ingredients for Homemade Ice Cream in a Jar
- 1 cup (8 fl oz/225 ml) cold heavy whipping cream (36% fat content)
- 4 tablespoons cold condensed milk (store-bought or homemade)
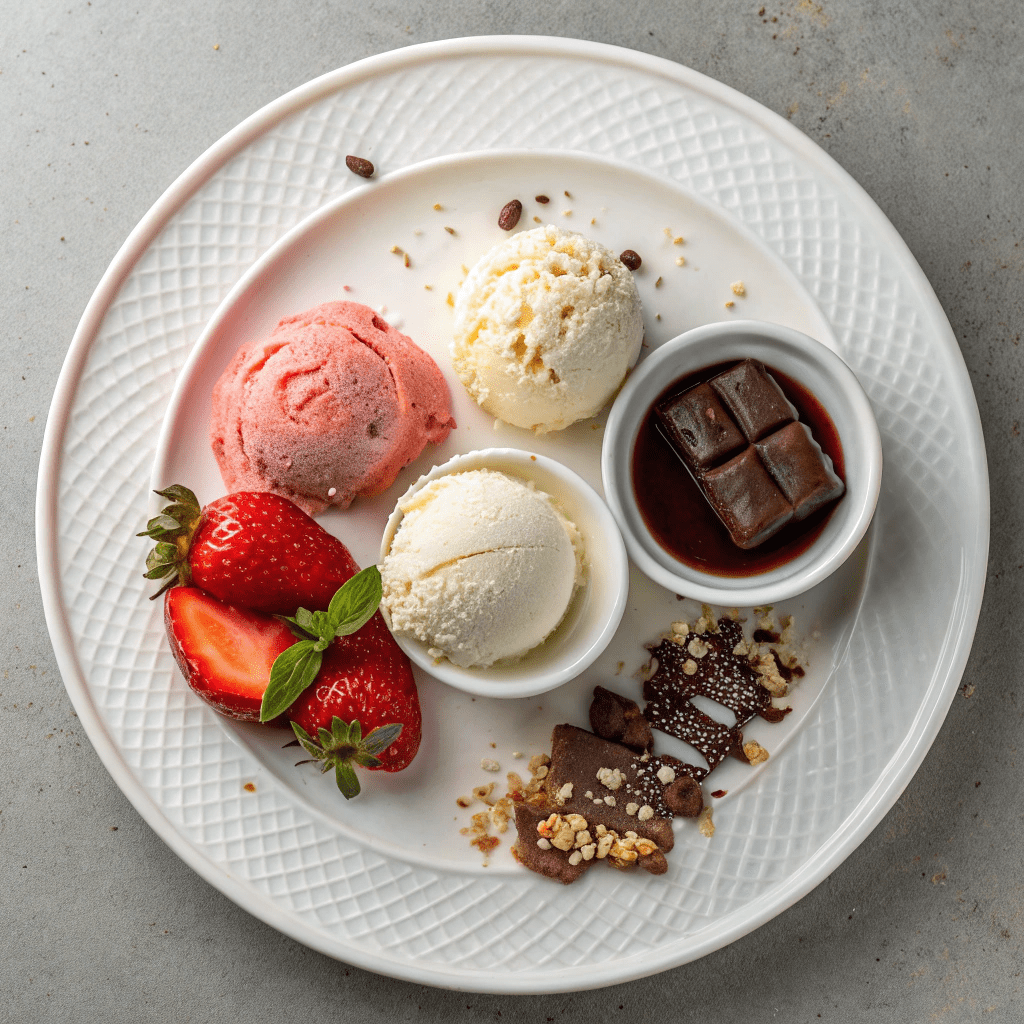
- For Vanilla Ice Cream:
- 1 teaspoon vanilla extract
- 1/8 teaspoon vanilla bean paste (optional)
- For Strawberry Ice Cream:
- ½ cup (2 ½ oz/71 g) strawberry puree
- 1 tablespoon granulated sugar
- For Chocolate Ice Cream:
- ⅓ cup (2 oz/57 g) bittersweet chocolate, melted and cooled
Step-by-Step Instructions
- Chill the jar: Place a 12 oz glass jar with a tight, sealable lid in the fridge to chill for 30 minutes. (Avoid plastic containers as they make whipping harder.)
- Prepare the base: Into the cold jar, pour the cold heavy whipping cream and cold condensed milk. Stir well with a spoon.
- Shake to thicken: Seal the jar tightly and shake vigorously for 6-8 minutes, or until the mixture thickens to soft peaks. (Shake harder for faster results.)
- Customize your flavor:
- Vanilla Ice Cream: Stir in vanilla extract and vanilla bean paste (if using).
- Strawberry Ice Cream: Mix strawberry puree and sugar, let stand for 5 minutes, then stir into the base.
- Chocolate Ice Cream: Quickly stir in the cooled, melted chocolate before it sets.
- Freeze: Scoop the ice cream into a freezable container and freeze for at least 6 hours.
- Store: Keep in the freezer for up to 8 weeks. Enjoy!
Creative Toppings and Mix-Ins to Elevate Your Ice Cream
Transform your homemade ice cream into a masterpiece with these fun and flavorful additions. For a crunchy twist, try crushed cookies, toasted nuts, or granola. Sweeten things up with caramel drizzle, chocolate chips, or fresh fruit slices. Feeling adventurous? Add a pinch of sea salt, a swirl of peanut butter, or a sprinkle of cinnamon for a unique flavor boost.
Perfect Pairings: Serving Suggestions for Your Ice Cream
Serve your ice cream in a waffle cone for a classic treat, or layer it with warm brownies for an indulgent dessert. Pair it with fresh berries, a drizzle of honey, or a dollop of whipped cream for a simple yet elegant presentation. For a fun twist, use it as a topping for pancakes or blend it into a milkshake.
Mastering the Freeze: Storage Tips for Creamy Perfection
To keep your ice cream smooth and scoopable, store it in an airtight container with a piece of parchment paper pressed directly onto the surface. This prevents ice crystals from forming. For the best texture, let it sit at room temperature for 5-10 minutes before serving. Remember, it’s best enjoyed within 8 weeks!
Quick Tips for Shaking Success
To make shaking easier, use a jar with a textured grip or wrap it in a kitchen towel. If your arms get tired, enlist a friend or family member to take turns. For a faster result, ensure both the jar and ingredients are as cold as possible before starting. If the mixture isn’t thickening, pop it in the freezer for 10 minutes and try again.
Flavor Variations to Try Next Time
Experiment with different flavors by mixing in crushed Oreos for cookies and cream, or swirl in raspberry jam for a fruity twist. For a tropical vibe, add coconut milk and toasted coconut flakes. Coffee lovers can stir in a shot of espresso or a sprinkle of instant coffee granules. The possibilities are endless!

How to Make Homemade Ice Cream in a Jar
Ingredients
Vanilla Ice-Cream
- 1 cup cold heavy whipping cream (36% fat content)
- 4 tablespoons cold condensed milk store-bought or Homemade
- 1 teaspoon vanilla extract
- 1/8 teaspoon vanilla bean paste optional
Strawberry Ice-Cream
- 1/2 cup strawberry puree
- 1 tablespoon granulated sugar
Chocolate Ice-Cream
- 1/3 cup bittersweet chocolate melted and cooled
Instructions
- Place a 12 oz glass jar with a tight, sealable lid in the fridge to chill for 30 minutes (I don’t recommend a plastic container as it will be much harder to whip).
- Into the cold jar pour in the cold heavy whipping cream and cold condensed milk and stir really well with a spoon.
- Seal the jar tightly and shake really well until you can feel the mix thicken in roughly 6-8 minutes. This timing all depends on how hard you are shaking so it might take more or less time.
- When the ice cream doesn’t sound as liquid and it has thickened to soft peaks you are done. (See video above!)
- Now, you have a thick and creamy blank canvas to turn into any flavor of Ice cream you want. Below are just some of the most popular flavors.
- Vanilla Ice Cream Into your ice cream base stir in the vanilla extract and vanilla paste if using. Scoop into a freezable container and freeze for a minimum of 6 hours.
- Strawberry Ice CreamMix together the pureed strawberries and sugar. Allow to stand for 5 minutes. Into your ice cream base stir in the puree. Scoop into a freezable container and freeze for a minimum of 6 hours.
- Chocolate Ice CreamInto your ice cream base swiftly stir in the cooled, melted chocolate. Do this step quickly as the chocolate will start to set on the ice-cream base. Scoop into a freezable container and freeze for a minimum of 6 hours.
- Freezing and Storing your Ice Cream In a disposable ice cream container or a plastic freezable container, freeze your ice-cream for a minimum of 6 hours before enjoying. Store in the freezer for up to 8 weeks.

