

Homemade Apple Pectin is a kitchen gem that unlocks the magic of natural thickening and gelling. Crafted from fresh apples, it boasts a vibrant, tangy-sweet flavor that elevates jams, jellies, and sauces. In just a few hours, you’ll create a silky, amber-hued pectin that’s free from additives and bursting with wholesome goodness. Its smooth texture and bright aroma make it a joy to work with, while its versatility ensures it’s a pantry essential. Whether you’re preserving summer fruits or experimenting with new recipes, this pectin adds a touch of homemade charm to every bite. It’s a simple yet rewarding process that connects you to the heart of cooking.
What makes this recipe truly special is its ability to transform humble apples into a powerhouse ingredient. The gentle simmering process coaxes out their natural pectin, resulting in a rich, glossy consistency that’s perfect for crafting artisanal preserves. Its subtle apple essence enhances flavors without overpowering, making it a favorite among home cooks. Plus, knowing exactly what’s in your pectin brings peace of mind and pride to your creations. With a little time and patience, you’ll have a jar of liquid gold ready to elevate your culinary projects. It’s a small effort with big rewards, and the results are simply irresistible.
What You’ll Need
- Apples (quartered, or use peels and cores) – About 2-3 pounds (use tart varieties like Granny Smith for best results)
- Water – Enough to just float the apples in the pot
Step-by-Step Instructions
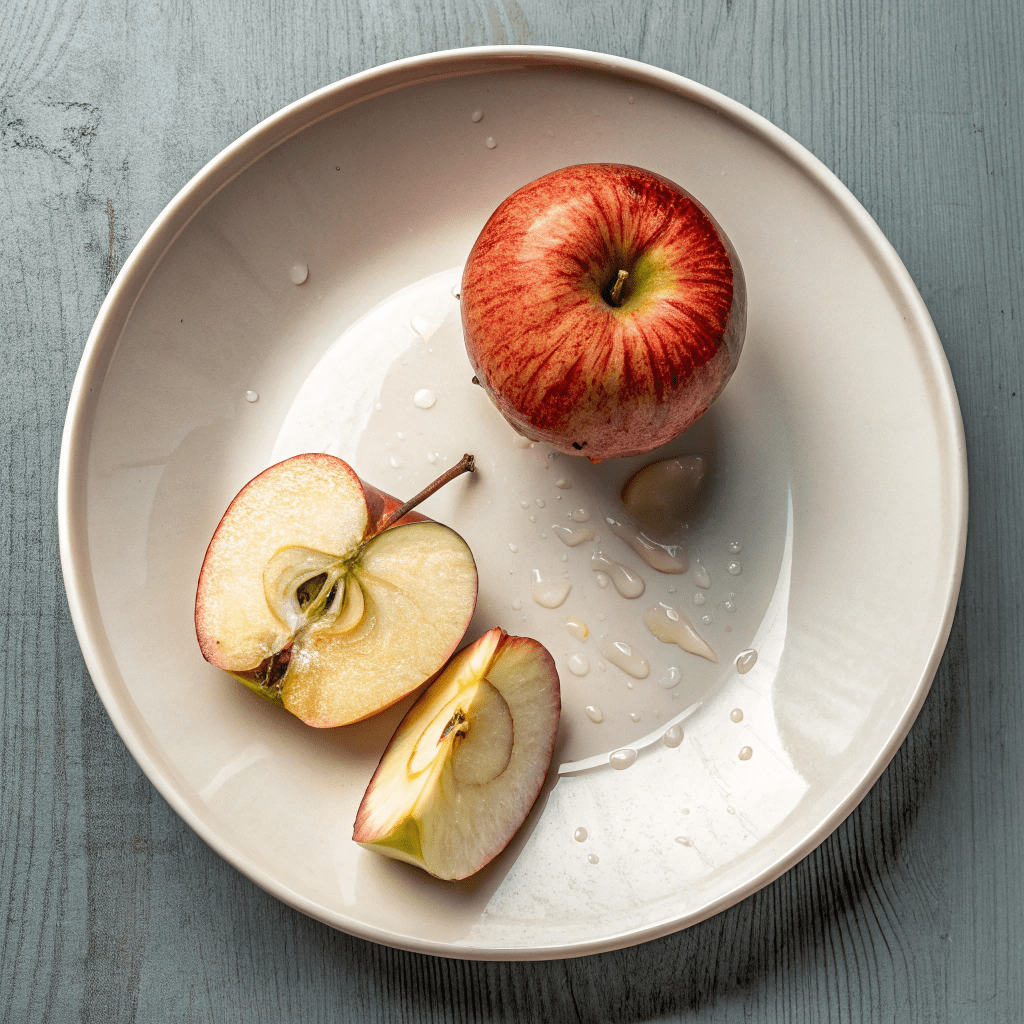
- Prepare the apples: Cut the apples into quarters (leave the skin on) or use apple peels and cores. Place them in a large pot.
- Add water: Pour in enough water to just float the apples in the pot.
- Cook the apples: Cover the pot and bring to a rolling boil. Reduce the heat to medium and let it simmer gently for 1 hour and 45 minutes to 2 hours. Stir every 20 minutes to prevent sticking.
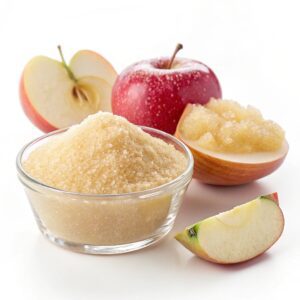
- Check for doneness: The mixture should reduce significantly, and the apples will become mushy. The liquid will turn an amber color, indicating it’s ready.
- Strain the mixture: Line a colander with a clean cheesecloth or tea towel (sterilize it by pouring boiling water through it). Place the colander over a large pot and carefully pour the apple mixture into it. Let it drip for several hours at room temperature. Do not press the pulp to avoid cloudy pectin.
- Reduce the pectin: Return the strained liquid to the heat and simmer until it reaches your desired strength. For a softer set, just heat it until hot before canning.
- Test the pectin: Cool a small amount of pectin in the fridge. Pour methylated spirits into a bowl and add the cold pectin. If it coagulates into a jellied blob, it’s ready. Caution: Methylated spirits are poisonous—do not consume.
- Store the pectin: Freeze it or pour it into sterile glass jars, seal, and process in a hot water bath for 10 minutes.
- How to use: For jams, use 1/4 cup apple pectin per cup of fruit. For jellies, use 1/4 cup apple pectin per cup of fruit juice. Add an equal amount of sugar to the combined pectin and juice.
Perfect Pairings: How to Use Your Homemade Apple Pectin
Homemade apple pectin is a versatile ingredient that can elevate your jams and jellies. For jams, use about 1/4 cup of pectin per cup of fruit. For jellies, mix 1/4 cup pectin with each cup of fruit juice, then add an equal amount of sugar. This ensures a smooth, firm set without being overly stiff. Experiment with berries, peaches, or even citrus fruits for a variety of flavors!
Storage and Shelf Life: Keep Your Pectin Fresh
To store your apple pectin, you can either freeze it in ice cube trays for easy, portioned use, or can it in sterile glass jars. If canning, process the jars in a hot water bath for 10 minutes to seal them properly. Properly stored, your pectin will last up to 6 months in the fridge or 1 year in the freezer.
Time-Saving Tips for Busy Cooks
If you’re short on time, consider using a slow cooker for the simmering process. Set it on low and let the apples cook unattended for 4-6 hours. This method frees up your stove and still yields beautifully amber-colored pectin. Alternatively, prep your apples the night before to streamline your cooking process.
Equipment Essentials: What You’ll Need
To make this recipe, you’ll need a large pot, a colander, and cheesecloth or a tea towel for straining. A thermometer can also be helpful to monitor the temperature during the reduction process. Ensure all equipment is clean and sterilized to maintain the quality of your pectin.
Common Questions: Troubleshooting Your Pectin
Worried your pectin isn’t setting? The meths test is your best friend. If the pectin doesn’t coagulate in methylated spirits, it may need further reduction. Also, avoid pressing the apple pulp during straining, as this can result in cloudy pectin. Remember, patience is key—allow the liquid to drip naturally for the clearest results.
Homemade Apple Pectin
Ingredients
Apples* (Quartered or peels and cores)
- Water
Instructions
- Cut the apples (skin on) into quarters and place them in a large pot. Pour in enough water to just float them. (You can also use apple peel and cores. See notes above about apples)
- Cover and bring the pot to a rolling boil, then reduce the heat and allow to simmer gently for medium heat for roughly 1 4/5 minutes – 2 hours. Stir every 20 minutes or so just to make sure the apples arent sticking to the bottom of the pot.
- How Will I Know My Homemade Pectin Is Ready to Come Off The Heat? After 2 hours it will have reduced down dramatically and the apples will be incredibly mushy, BUT also what will tell you it is ready is that it will have turned an amber color (like in the pictures). It is really important you achieve this color. It will happen over the simmering period.
- Once done, line a colander with a clean piece of cheesecloth or tea towel and pour boiling water through it to sterilize the fabric. Place the colander over a large pot and carefully tip the apple mass and liquid through it. Do not press the pulp, or you’ll get cloudy pectin.
- Leave the whole thing to drip for several hours at room temperature. When the liquid has completely drained through, give it a little extra squeeze to make sure you have all the pectin and remove the colander.
- Return the pectin to the heat and bring to a simmer. You now need to reduce the pectin until it reaches the strength you require — as we don’t want it to set rocky hard, we normally just boil it a bit to make sure it’s all hot before we start canning.
- How To Test if Your Pectin Is Ready: Pour a little pectin into a small bowl and put it in the fridge to cool (test won’t work if the pectin is hot). Pour some methylated spirits into another bowl, then tip the cold pectin into it. If you’ve made decent pectin, it will coagulate in the meths, and you should be able to lift it out as a jellied blob with a fork. Please – make sure no-one accidentally eats or drinks the contents of the bowl – it’s poisonous!
- In order to store the pectin, you can either freeze it, or pour it into sterile glass jars, seal, and then process the jars in a hot water bath for 10 minutes.
- How To Use Homemade Pectin: Use about 1/4 cup apple pectin per cup of fruit for jams. For jellies, use 1/4 cup apple pectin per cup of fruit juice. Measure the combined pectin and juice and add an equal amount of sugar.

