

There’s nothing quite like the velvety richness of homemade chocolate ice cream, and this recipe delivers it in just 10 minutes. Creamy, indulgent, and bursting with deep cocoa flavor, it’s a treat that feels both luxurious and effortless. The smooth texture melts on your tongue, leaving behind a satisfying sweetness that’s perfectly balanced. Whether you’re cooling off on a hot day or satisfying a late-night craving, this ice cream is a dream come true.
With no churn required, this recipe is as simple as it gets, yet the results are unbelievably decadent. The rich chocolate base is enhanced by a hint of vanilla, creating a flavor that’s both comforting and irresistible. Perfect for sharing or savoring solo, this ice cream is a quick way to bring joy to any moment. Dive in and experience the magic of homemade dessert in no time at all!
What You’ll Need
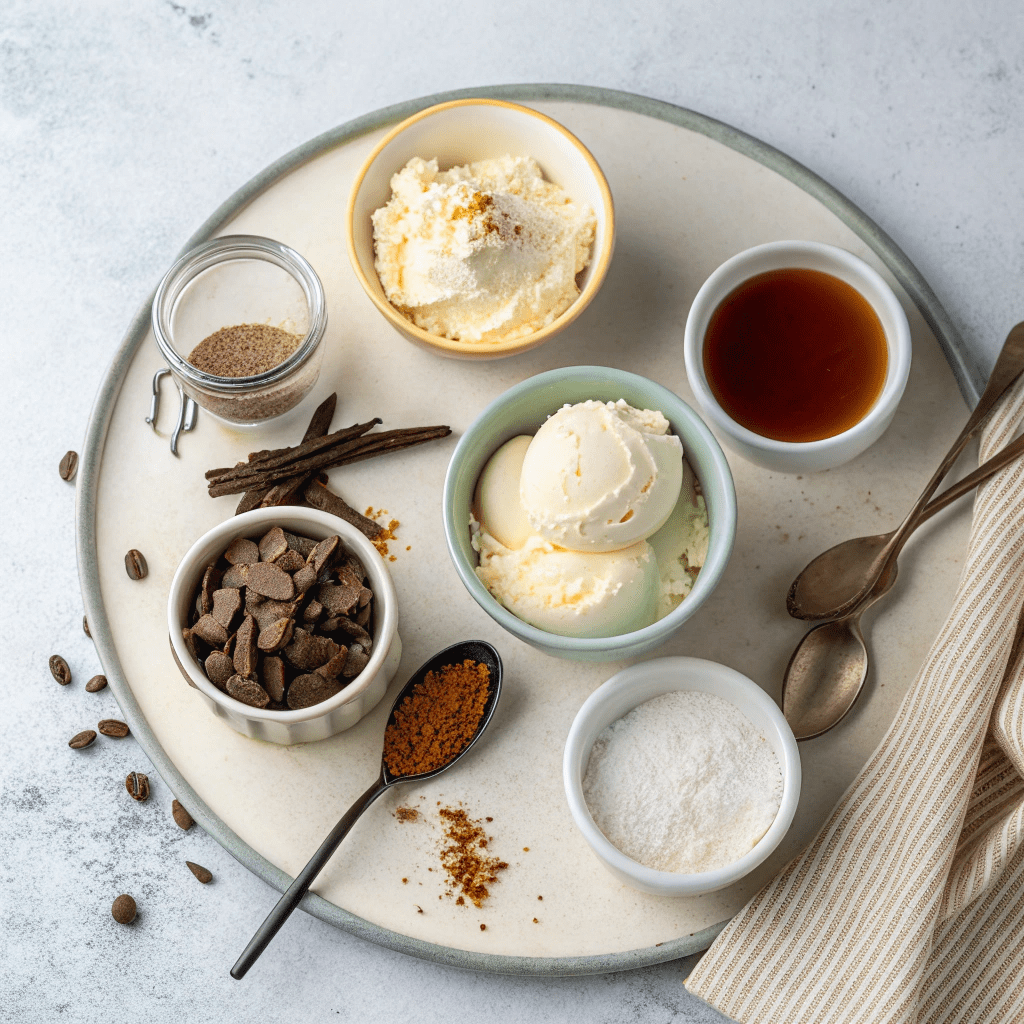
- 2 cups (16 oz/450 ml) cold heavy whipping cream (or all-purpose cream)
- 14 ounces (1 can/400 ml) cold sweetened condensed milk (fat-free or regular)
- 1 teaspoon vanilla extract (optional, for added flavor)
- 2/3 cup (4 oz/115 g) bittersweet chocolate, melted (70% cocoa solids recommended)
How to Make It
- Using a hand or stand mixer fitted with a whisk attachment, whip the cold heavy cream on medium/high speed until soft peaks form.
- Turn off the mixer and pour the sweetened condensed milk into the whipped cream.
- Turn the speed up to high and whisk until the mixture is thick and stiff peaks form.
- Turn off the mixer and stir in the vanilla extract (and vanilla seeds if using).
- Add a small amount of the ice cream base to the cooled melted chocolate to loosen it, then quickly mix it into the base. Work fast to prevent the chocolate from stiffening.
- Transfer the mixture to an airtight container and freeze for a minimum of 6 hours or overnight before serving.
- Store in the freezer for up to 6 weeks.
Delicious Toppings to Elevate Your Ice Cream
Take your homemade chocolate ice cream to the next level with these tasty toppings! Try a drizzle of caramel sauce or hot fudge for extra richness. For a crunchy twist, sprinkle on chopped nuts, crushed cookies, or toasted coconut flakes. Fresh berries or a dollop of whipped cream can add a refreshing contrast to the rich chocolate flavor.
Perfect Pairings for Serving
This chocolate ice cream is a star on its own, but it pairs beautifully with other desserts! Serve it alongside a warm brownie or chocolate lava cake for a decadent treat. For a fun twist, use it to make ice cream sandwiches with your favorite cookies. It’s also a great addition to a sundae bar for parties or family gatherings.
Storage Tips for Maximum Freshness
To keep your ice cream creamy and delicious, store it in an airtight container in the freezer. Press a piece of parchment paper directly onto the surface before sealing to prevent ice crystals from forming. It will stay fresh for up to 6 weeks, but let’s be honest—it probably won’t last that long!
Quick Variations to Mix It Up
Feel like experimenting? Swap the bittersweet chocolate for milk chocolate or dark chocolate to adjust the sweetness. Add a handful of chocolate chips or chopped nuts for extra texture. For a minty twist, stir in 1/2 teaspoon of peppermint extract instead of vanilla. The possibilities are endless!
Time-Saving Tips for Busy Days
Short on time? Prep the ice cream base the night before and freeze it overnight for a quick dessert the next day. If you’re in a hurry, skip the vanilla pod and use vanilla extract for a faster flavor boost. For even quicker results, use a pre-melted chocolate option to save a step.

Homemade Chocolate Ice Cream
Equipment
- hand or stand mixer
Ingredients
- 2 cups cold heavy whipping cream all purpose cream or heavy cream
- 14 ounces cold sweetened condensed milk fat-free or regular
- 1 teaspoon vanilla extract optional
- 2/3 cup bittersweet chocolate, melted 70% or so cocoa solids
Instructions
- Using a hand or stand mixer fitted with a whisk attachment whip the cold cream on medium/ high speed until soft peaks form.
- Turn off the machine and pour the condensed milk into the whipped cream.
- Turn the speed up to high and whisk until the mixture is thick and stiff peaks.
- Turn off the machine and stir in vanilla extract and the seeds scraped from 1 vanilla pod.
- Introduce a little of the ice cream base to the cooled melted chocolate to loosen it up. Then quickly introduce this to the base and mix through. Work fast or the chocolate will stiffen.
- Transfer to an air-tight sealable container and freeze for a minimum of 6 hours or overnight before eating.
- Keep stored in the freezer for up to 6 weeks.

