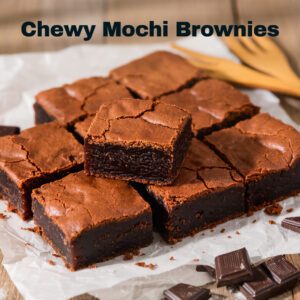
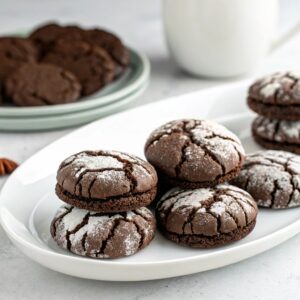
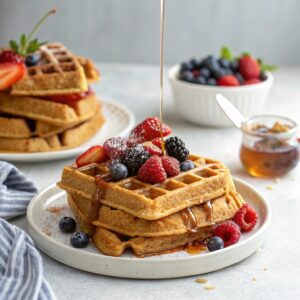
Imagine biting into a brownie that stretches like mochi, with a shiny crackly top that gives way to an impossibly chewy, fudgy center. These chewy mochi brownies deliver exactly that magical experience.
Most mochi brownies recipe attempts result in dense, cake-like textures or fail to achieve the signature crispy top that makes these treats so special. The secret lies in understanding the precise balance of mochiko flour, liquid ratios, and proper mixing techniques.
This comprehensive guide delivers the perfect mochi brownies with foolproof techniques for achieving that coveted crackly surface and ultra-chewy interior. You’ll discover the ingredient science, step-by-step methods, troubleshooting solutions, and expert variations that ensure bakery-quality results every time.
Whether you’re craving old fashioned mochi brownies or exploring gluten-free alternatives, this complete resource covers everything from basic techniques to advanced tips that even experienced bakers will find valuable.
What Are Chewy Mochi Brownies?
The Perfect Marriage of Textures
Mochi brownies represent the ultimate fusion dessert, combining the rich chocolate intensity of traditional brownies with the distinctive chewy, stretchy texture of Japanese mochi. This unique treat originated from Hawaiian butter mochi traditions but evolved into something entirely special.
The result is a dessert that looks like a conventional brownie but surprises with every bite. The exterior develops a characteristic shiny, crackly crust during baking, while the interior maintains an almost marshmallow-like chewiness that traditional brownies simply cannot achieve.
How They Differ from Regular Brownies?
The key difference lies in the flour foundation. While regular brownies rely on wheat flour for structure, these chocolatey mochi brownies use mochiko (sweet rice flour) as their base, creating an entirely different texture profile.
Unlike the dense crumb of conventional brownies, mochi brownies offer a bouncy, almost elastic quality that stretches when pulled apart. This unique characteristic comes from the glutinous rice flour’s natural properties, which develop differently when mixed with liquids compared to wheat-based flours.
Hawaiian Butter Mochi Connection
These treats trace their origins to Hawaiian butter mochi, a beloved local dessert that combines mochiko flour with simple ingredients to create irresistibly chewy cakes. The chocolate version builds on this foundation while maintaining the signature texture that makes Hawaiian sweet mochi brownies so addictive.
The cultural significance extends beyond mere dessert; it represents the beautiful fusion of Asian ingredients with Western baking techniques that characterizes modern Hawaiian cuisine.
| Comparison | Mochi Brownies | Regular Brownies | Butter Mochi |
|---|---|---|---|
| Texture | Chewy, stretchy | Dense, fudgy | Light, bouncy |
| Main Flour | Mochiko (sweet rice) | All-purpose wheat | Mochiko (sweet rice) |
| Gluten-Free | Yes | No | Yes |
| Baking Time | 45-70 minutes | 25-35 minutes | 50-60 minutes |
| Flavor Profile | Rich chocolate | Rich chocolate | Sweet, vanilla |
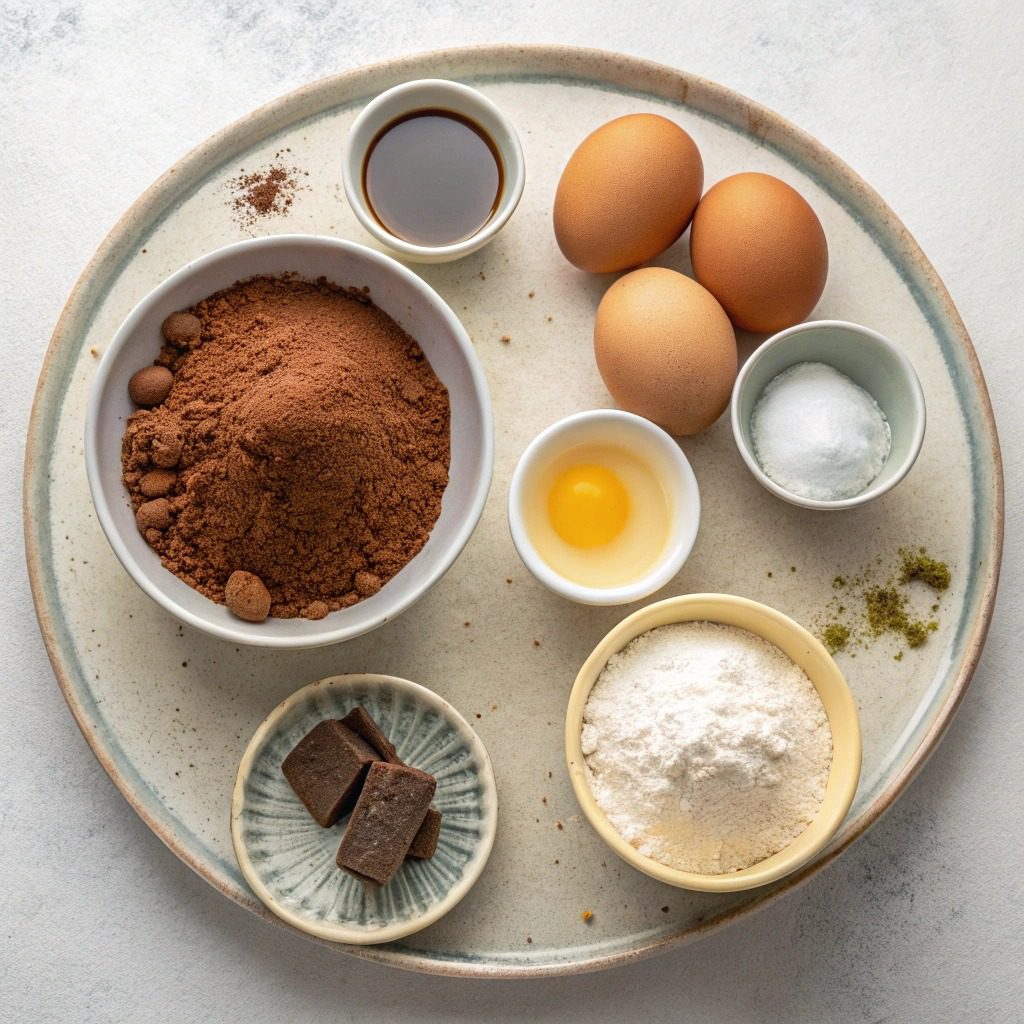
Essential Ingredients for Perfect Mochi Brownies
Mochiko Sweet Rice Flour: The Star Ingredient
Mochiko serves as the foundation for achieving that signature chewy texture that makes these brownies extraordinary. This finely ground glutinous rice flour creates the stretchy, elastic quality that regular rice flour or wheat alternatives simply cannot replicate.
The key lies in mochiko’s unique protein structure, which develops differently when hydrated compared to conventional flours. When mixed with liquids, it forms a gel-like consistency that bakes into the characteristic bouncy texture.
Important: Never substitute regular rice flour, brown rice flour, or wheat flour. Only mochiko or sweet rice flour will produce authentic results.
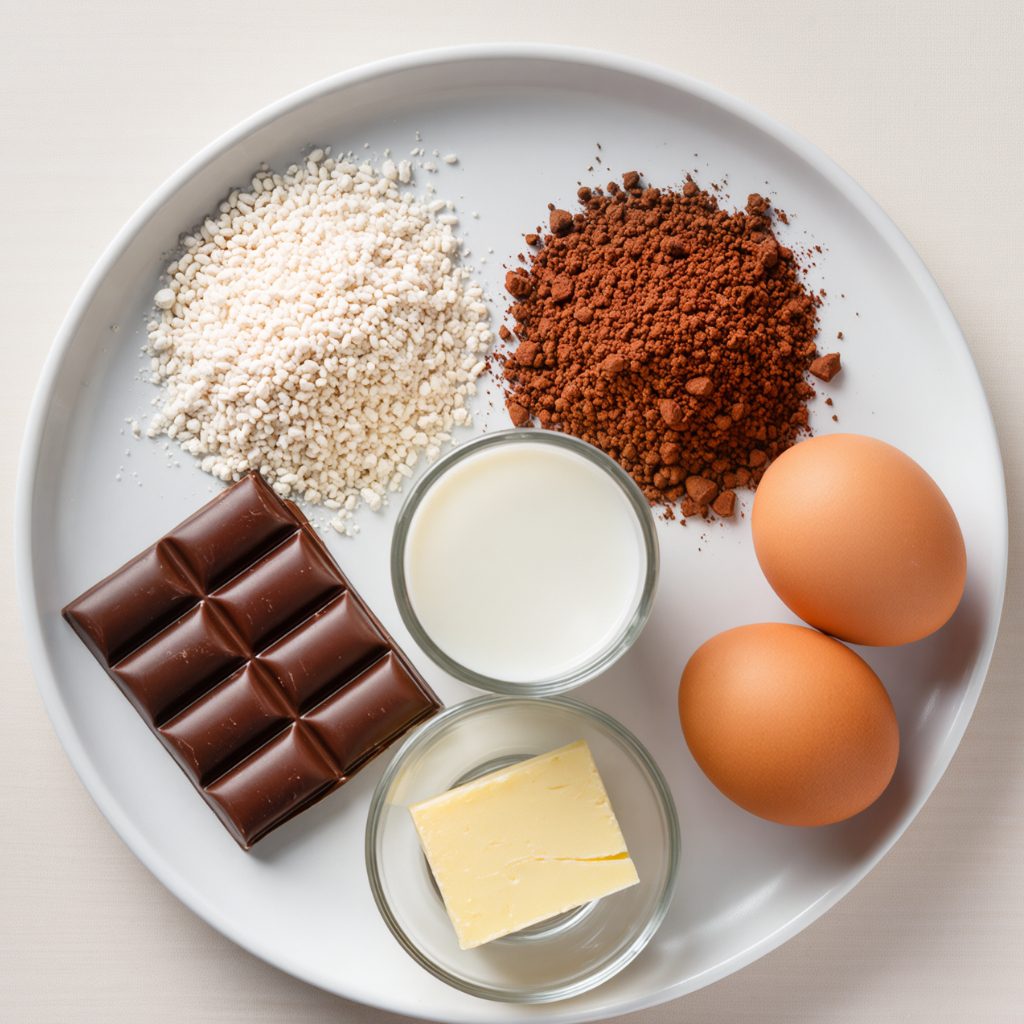
Chocolate Components: Cocoa Powder + Bittersweet Chocolate
Creating deeply chocolatey mochi brownies requires a two-pronged chocolate approach. High-quality dutch-processed cocoa powder provides the intense chocolate flavor without adding excess moisture that could compromise texture.
Bittersweet chocolate serves dual purposes: melted into the batter for richness and chopped on top for textural contrast. The King Arthur Baking Company recommends dutch-processed cocoa for its deeper flavor profile and reduced acidity.
Avoid chocolate chips for the topping, as they’re formulated to hold their shape and won’t create the desired melted, gooey effect that enhances the brownie experience.
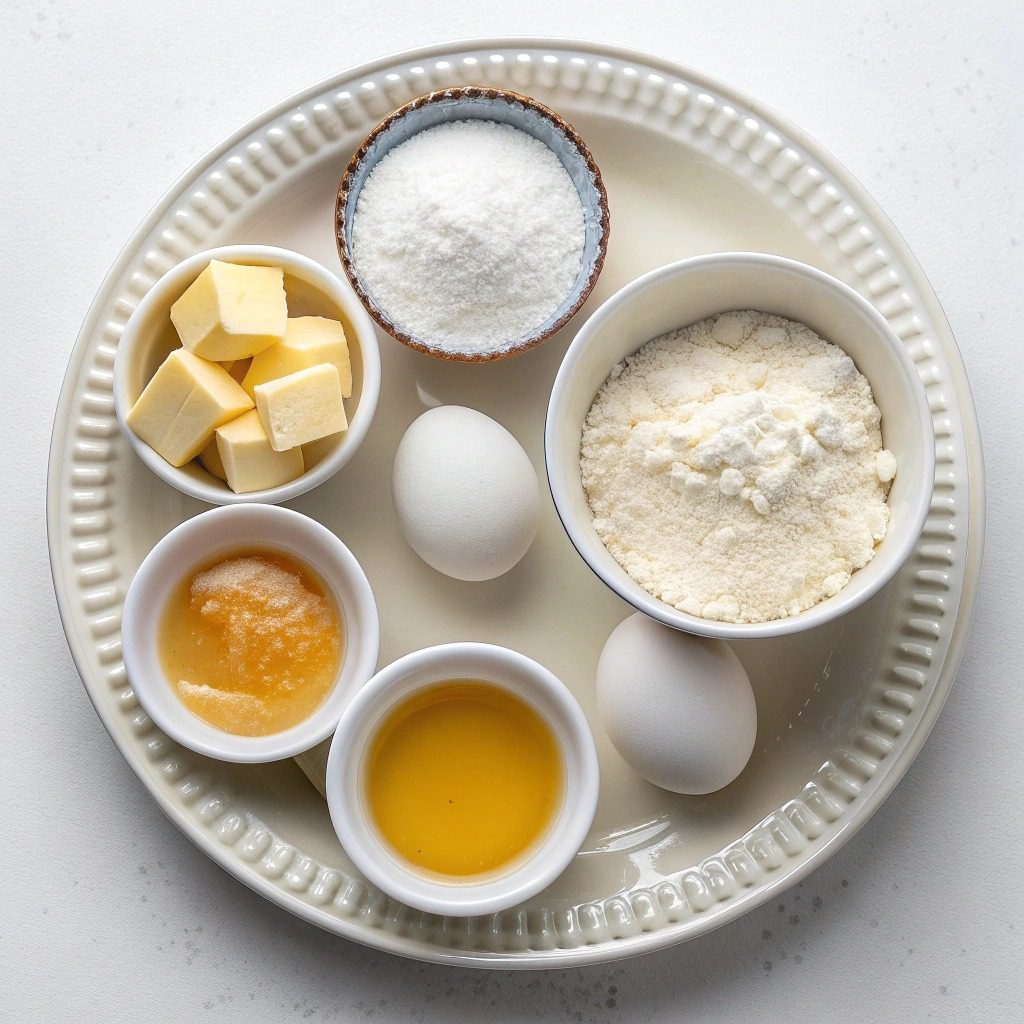
The Supporting Cast: Eggs, Butter, and Milk
Room temperature eggs are crucial for creating the meringue-like layer that develops into the characteristic crackly top. The vigorous mixing of eggs with the chocolate-butter mixture incorporates air that rises during baking.
Browning the butter adds a nutty depth that complements the chocolate while providing the necessary fat content for proper texture development. Whole milk supplies the liquid needed for mochiko to fully hydrate and develop its signature chewiness.
Each component plays a specific role in the final texture, making substitutions tricky without understanding their individual contributions to the overall structure.
Quality Brands That Make a Difference
Recommended Brands:
- Mochiko: Koda Farms (most consistent results)
- Cocoa Powder: Valrhona or Ghirardelli dutch-processed
- Chocolate: Guittard bittersweet baking wafers
- Baking Powder: Clabber Girl (for consistent rise)
Quality ingredients directly impact the final texture and flavor. Premium mochiko produces more consistent results, while high-fat cocoa powder creates richer flavor without compromising the delicate moisture balance.
Step-by-Step Chewy Mochi Brownies Recipe
Equipment You’ll Need
Essential Tools:
- 8×8-inch metal baking pan
- Parchment paper
- Large mixing bowl
- Medium saucepan (for browning butter)
- Whisk or electric mixer
- Fine-mesh sifter
- Sharp knife for chopping chocolate
Metal pans conduct heat more efficiently than glass, creating better edge texture and more even baking. Parchment paper prevents sticking, which is crucial given the naturally sticky nature of mochi-based batters.
Prep Work and Pan Setup
Preheat your oven to 350°F (175°C) and position the rack in the center for even heat distribution. Line your 8×8-inch pan with parchment paper, leaving overhang for easy removal.
This mochi brownies recipe produces a fairly thick batter, so proper pan preparation prevents frustrating removal issues later. The parchment overhang acts as handles for lifting the finished brownies.
Chop your bittersweet chocolate into roughly ½-inch pieces. Avoid fine chopping, as larger pieces create better textural contrast against the smooth brownie base.
Creating the Perfect Batter
Step-by-Step Process:
- Brown the Butter: Heat ½ cup butter in a saucepan over medium heat until it foams and develops golden-brown color with nutty aroma (3-4 minutes).
- Melt Chocolate: Pour hot browned butter over 2 ounces chopped chocolate and both sugars. Let sit 2-3 minutes, then whisk until smooth.
- Sift Dry Ingredients: Combine 1¼ cups mochiko, ⅓ cup cocoa powder, 1¾ teaspoons baking powder, 1 teaspoon espresso powder, and ½ teaspoon salt.
- Combine Wet Ingredients: Allow chocolate mixture to cool 5 minutes, then whisk in 2 eggs one at a time, followed by 1½ cups whole milk and 1 teaspoon vanilla.
The batter will appear alarmingly thin compared to traditional brownie batter. This liquid consistency is essential for proper mochiko hydration and texture development.
The Secret to Crackly Tops
The signature shiny, crackly surface depends on creating a thin meringue layer during mixing. After adding eggs to the cooled chocolate mixture, beat vigorously for 2-3 minutes either by hand or with an electric mixer.
This extended mixing incorporates air that rises to the surface during baking, creating the glossy crust that distinguishes these from traditional fudgy brownies. The key is balancing aeration with gentle handling of the final batter.
Mix the dry ingredients in two additions, alternating with the milk mixture. Overmixing at this stage can break the delicate emulsion and prevent proper rise.
Baking to Perfection
Pour the thin batter into your prepared pan and sprinkle the remaining 2 ounces of chopped chocolate evenly over the surface. The pieces will sink slightly but should remain mostly visible.
Bake for 45-60 minutes, depending on your oven and desired texture. The center should appear set with only the slightest jiggle when gently shaken. A toothpick inserted in the center should come out with a few moist crumbs.
Unlike traditional brownies, these require longer baking time due to the high moisture content and different flour structure. Don’t worry if they seem to take longer than expected.
Cooling and Cutting Techniques
Critical Cooling Steps:
- Cool completely in the pan (at least 2 hours)
- Refrigerate for 30 minutes before cutting for cleanest slices
- Wipe knife between cuts to prevent sticking
- Store with loose lid first night to maintain crispy top
Patience during cooling prevents the sticky interior from adhering to your knife and ensures clean, professional-looking squares. The texture actually improves as it reaches room temperature.
Recipe Card
Chewy Mochi Brownies Prep Time: 20 minutes | Cook Time: 45-60 minutes | Total Time: 1 hour 20 minutes | Serves: 12-16
Ingredients:
- 1¼ cups (200g) mochiko sweet rice flour
- ⅓ cup (36g) dutch-processed cocoa powder
- ½ cup (100g) dark brown sugar
- ½ cup (100g) granulated sugar
- 4 oz bittersweet chocolate, chopped and divided
- ½ cup (113g) unsalted butter
- 1¾ teaspoons baking powder
- 1 teaspoon espresso powder (optional)
- ½ teaspoon kosher salt
- 2 large eggs, room temperature
- 1½ cups (360ml) whole milk
- 1 teaspoon vanilla extract
Instructions:
- Prepare: Preheat oven to 350°F. Line 8×8-inch metal pan with parchment paper.
- Brown Butter: Heat butter in saucepan until golden and fragrant. Pour over 2 oz chopped chocolate and both sugars. Let sit 2-3 minutes, whisk smooth.
- Mix Dry: Sift together mochiko, cocoa powder, baking powder, espresso powder, and salt.
- Combine: Cool chocolate mixture 5 minutes. Beat in eggs one at a time, mixing vigorously 2-3 minutes. Add dry ingredients in two additions, alternating with milk and vanilla.
- Bake: Pour batter into pan, top with remaining chocolate. Bake 45-60 minutes until center is just set.
- Cool: Cool completely before cutting. Refrigerate 30 minutes for cleanest slices.
Nutrition (per serving): Calories: 245 | Carbs: 42g | Protein: 4g | Fat: 8g | Fiber: 2g
The Science Behind Ultra-Chewy Texture
How Mochiko Creates the Stretch
The distinctive chewiness comes from mochiko’s unique amylopectin content, which differs significantly from regular wheat flour proteins. When hydrated and heated, these starches create a gel-like network that maintains elasticity even after cooling.
This same principle applies to traditional mochi making, where the rice flour develops its characteristic bounce through proper hydration and heat application. The liquid ratios in this recipe optimize this natural tendency.
Understanding this science helps explain why substitutions fail and why the batter appears so different from conventional brownie recipes.
Liquid Ratios and Texture Development
The high milk content serves multiple purposes beyond simple hydration. Mochiko requires significantly more liquid than wheat flour to fully develop its characteristic texture properties.
The milk proteins also contribute to the tender crumb while the natural sugars aid in creating the desired brownie-like appearance and flavor development during baking.
Too little liquid results in dense, heavy squares, while too much creates a custard-like consistency that never properly sets.
Temperature and Timing Impact
Critical Temperature Points:
- Butter Browning: 250-300°F for optimal nutty flavor
- Batter Temperature: Room temperature before baking
- Baking Temperature: 350°F for proper rise and crust formation
- Cooling Temperature: Complete cooling to 70°F for ideal texture
These temperature controls ensure proper chemical reactions occur at each stage, from initial mixing through final texture development during cooling.
Common Mistakes & Pro Solutions
Avoiding Dense, Cake-Like Results
Problem: Heavy, dense texture instead of chewy bounce Solutions:
- Measure mochiko by weight (200g) rather than volume
- Don’t overmix after adding dry ingredients
- Ensure milk is at room temperature
- Use whole milk, not low-fat alternatives
Dense results usually stem from improper flour measurement or inadequate liquid incorporation. These vegan mochi brownies alternatives require careful attention to ratios.
Preventing Sunken Chocolate Chips
Problem: Chocolate pieces sink to bottom during baking Solutions:
- Use chopped chocolate, not chips
- Add chocolate pieces just before baking
- Dust chocolate with mochiko flour before sprinkling
- Don’t press pieces into batter
Standard chocolate chips are formulated to maintain shape and density, making them poor choices for this liquid batter consistency.
Achieving Consistent Crackly Tops
Problem: Flat, dull surface instead of shiny cracks Solutions:
- Beat eggs vigorously for full 2-3 minutes
- Use room temperature eggs
- Don’t skip the butter browning step
- Ensure oven temperature accuracy with thermometer
The crackly top depends on proper meringue formation and surface tension during baking. Shortcuts in mixing or temperature control prevent this signature characteristic.
Proper Cooling and Storage
Problem: Sticky, difficult-to-cut squares Solutions:
- Cool completely (minimum 2 hours)
- Refrigerate before cutting for clean edges
- Use sharp, clean knife
- Wipe blade between cuts
Unlike stovetop brownies that can be cut warm, mochi brownies require complete cooling for proper texture and clean presentation.
Texture Troubleshooting Guide
Too Dense or Heavy? Here’s Why
Symptoms: Thick, cake-like texture lacking characteristic chew Likely Causes:
- Overpacked mochiko flour measurement
- Insufficient liquid hydration
- Overmixed final batter
- Wrong type of rice flour used
Quick Fixes for Next Time:
- Weigh ingredients when possible
- Increase milk by 2-4 tablespoons if batter seems thick
- Fold final ingredients gently
- Verify you’re using mochiko, not regular rice flour
Not Chewy Enough? Quick Fixes
Symptoms: Texture closer to regular brownies than mochi Solutions:
- Extend baking time 5-10 minutes
- Increase mochiko ratio by 2-3 tablespoons
- Use whole milk instead of alternatives
- Ensure complete cooling before evaluating texture
Remember that the chewiness develops during cooling. What seems insufficiently chewy when warm often achieves perfect texture at room temperature.
Crackly Top Won’t Form? Solutions
Checklist for Troubleshooting:
- [ ] Eggs beaten vigorously for 2+ minutes
- [ ] Butter properly browned before adding
- [ ] Chocolate fully melted and smooth
- [ ] Oven temperature verified accurate
- [ ] Room temperature ingredients used
Most surface issues trace back to inadequate mixing or temperature problems during the crucial emulsion stage.
Cutting and Serving Issues
Clean Cutting Technique:
- Cool completely (2+ hours minimum)
- Refrigerate 30 minutes before cutting
- Use sharp, straight knife
- Wipe blade clean between each cut
- Cut straight down without sawing motion
For the cleanest presentation, some bakers prefer using a bench scraper or large chef’s knife warmed briefly in hot water, then dried before cutting.
Delicious Variations
Vegan Mochi Brownies (Dairy-Free Options)
Transform these into vegan mochi brownies with simple substitutions that maintain the essential texture characteristics:
Dairy-Free Swaps:
- Replace butter with vegan butter (Earth Balance works well)
- Substitute whole milk with full-fat oat milk or canned coconut milk
- Use flax eggs (2 tablespoons ground flaxseed + 6 tablespoons water, mixed and set 15 minutes)
The coconut milk version adds subtle tropical notes that complement the chocolate beautifully. Oat milk provides the closest texture match to dairy milk.
Success Tips for Vegan Version:
- Brown vegan butter carefully as it can burn quickly
- Choose creamy, not grainy vegan butter brands
- Full-fat plant milks work better than low-fat versions
Extra Chocolatey Version
For ultimate chocolatey mochi brownies, increase the cocoa intensity without compromising texture:
Enhanced Chocolate Options:
- Add 1 tablespoon additional cocoa powder
- Include 2 tablespoons mini chocolate chips in batter
- Drizzle melted chocolate over cooled brownies
- Dust with cocoa powder before serving
Be cautious with cocoa additions, as too much can make the texture dry and less chewy. The balance between chocolate intensity and mochi texture requires careful consideration.
Add-In Ideas: Nuts, Fruits, and More
Compatible Mix-Ins (2-4 tablespoons maximum):
- Chopped toasted hazelnuts or macadamia nuts
- Dried cherries or cranberries
- Shredded coconut (toasted)
- Espresso powder for mocha flavor
- Orange zest for citrus brightness
Add mix-ins during the final batter assembly to prevent overmixing. Too many additions can interfere with the delicate mochi texture development.
Different Pan Sizes and Adjustments
Pan Size Modifications:
- 9×9 inch: Reduce baking time to 40-50 minutes
- 9×13 inch: Reduce time to 35-45 minutes, yields thinner brownies
- Individual muffin cups: Bake 25-30 minutes, makes 12-16 servings
Smaller pans create thicker brownies with longer cooking times, while larger pans produce thinner results that bake more quickly. Adjust timing accordingly and test for doneness.
Storage, Serving, and Make-Ahead Tips
Optimal Storage Methods
Room Temperature Storage: Store cooled brownies in airtight container at room temperature for up to 4 days. For the first night, rest the lid loosely on the container rather than sealing completely to maintain the crispy top surface.
After the first day, seal completely to prevent drying. The texture actually improves over the first 24 hours as flavors meld and the interior continues developing its characteristic chew.
Refrigeration Guidelines: Refrigerated brownies keep up to 1 week but require 15-20 minutes at room temperature before serving for optimal texture. Cold mochi brownies become quite firm and lose some of their appealing chewiness.
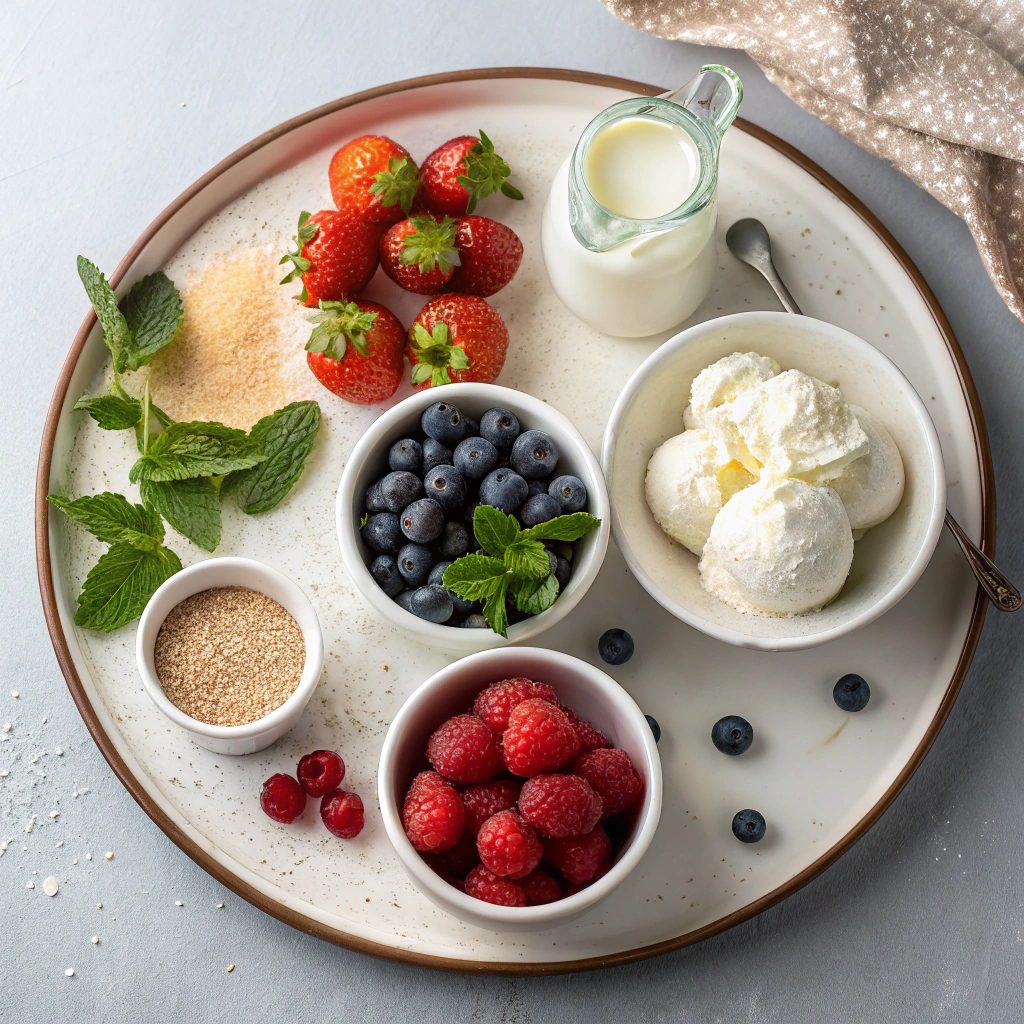
Serving Suggestions and Pairings
Classic Presentations:
- Serve at room temperature with vanilla ice cream
- Dust with powdered sugar for elegant presentation
- Drizzle with caramel or chocolate sauce
- Pair with fresh berries for color contrast
Beverage Pairings:
- Strong coffee or espresso (balances sweetness)
- Cold milk (classic combination)
- Japanese green tea (complements mochi tradition)
- Port or dessert wine for sophisticated service
The dense, chewy texture makes these quite rich, so smaller portions often satisfy better than traditional brownie servings.
Freezing and Reheating Guidelines
Freezer Storage: Wrap individual squares in plastic wrap, then store in freezer bags for up to 3 months. Label with date and contents for easy identification.
Freeze in single layers initially, then transfer to storage containers once solid to prevent sticking together.
Reheating Methods:
- From Frozen: Thaw at room temperature 2-3 hours
- Quick Thaw: Microwave 15-20 seconds at 50% power
- Oven Warming: 300°F for 5-8 minutes (for slightly warm service)
Never microwave at full power, as the mochi texture can become unpleasantly chewy when overheated.
Make-Ahead Strategies
Timeline Options:
- Day Before: Bake and cool completely, store covered
- Morning Of: Bake early, cool during day for evening service
- Week Ahead: Bake and freeze, thaw day before serving
These old fashioned mochi brownies actually benefit from resting time, making them excellent make-ahead desserts for entertaining or meal planning.
The flavors deepen and the texture reaches its optimal chewiness after 12-24 hours, making advance preparation not just convenient but preferable.
Frequently Asked Questions
Can I substitute regular rice flour for mochiko?
No, regular rice flour will not produce the characteristic chewy, stretchy texture that defines mochi brownies. Mochiko (sweet rice flour) comes from glutinous rice, which has different starch properties essential for creating the signature bounce and chew.
Regular rice flour creates a sandy, crumbly texture that completely changes the dessert’s character. Only mochiko or specifically labeled “glutinous rice flour” will work for authentic results.
Why is my batter so thin and liquidy?
This liquid consistency is completely normal and necessary for proper mochi brownie development. The thin batter allows the mochiko flour to fully hydrate and develop its characteristic texture during the longer baking time.
Don’t add extra flour to thicken it, as this will prevent the proper texture formation. Trust the process—the liquid batter transforms into perfectly chewy brownies during baking.
How do I know when mochi brownies are done?
Properly baked mochi brownies should feel set when lightly touched in the center, with only the slightest jiggle when the pan is gently shaken. A toothpick inserted in the center should come out with a few moist crumbs, not wet batter.
The surface should appear matte rather than shiny wet, and the edges will pull slightly away from the pan sides. Unlike traditional brownies, these require 45-70 minutes depending on your oven.
Can I make these dairy-free or vegan?
Yes! Replace the butter with high-quality vegan butter and substitute whole milk with full-fat oat milk or canned coconut milk. For eggs, use flax eggs (2 tablespoons ground flaxseed mixed with 6 tablespoons water, set 15 minutes).
The Nutrition Source at Harvard notes that oat milk provides the closest texture match to dairy milk for baking applications.
Vegan versions maintain the essential chewy texture while accommodating dietary restrictions beautifully.
Why didn’t I get a crackly top?
The signature crackly surface depends on proper meringue formation during mixing. Ensure you beat the eggs vigorously for 2-3 minutes with the chocolate mixture, use room temperature eggs, and don’t skip browning the butter.
Temperature accuracy also matters—verify your oven temperature with a thermometer, as too-low temperatures prevent proper surface development. The crackly top forms from the thin meringue layer rising and setting during baking.
Conclusion
Perfect chewy mochi brownies require understanding the unique properties of mochiko flour, maintaining proper liquid ratios, and exercising patience during the complete cooling process. These gluten-free treats offer an irresistible combination of familiar brownie flavors with an extraordinary texture that creates a truly memorable dessert experience.
The key to success lies in embracing the differences from traditional brownie making—the thin batter, longer baking time, and essential cooling period all contribute to achieving that coveted balance of crispy top and ultra-chewy interior.
With these comprehensive techniques, you’ll create bakery-quality sweet mochi brownies that satisfy every texture craving while accommodating gluten-free dietary needs. The versatility of this base recipe allows for endless creative variations, from vegan mochi brownies to intensely chocolatey versions.
Try this recipe today and discover why mochi brownies will become your new favorite treat. Once you experience that perfect chewy-fudgy texture combination, regular brownies will never quite satisfy in the same way.
Chewy Mochi Brownies
Equipment
- 8×8-inch metal baking pan
- large mixing bowl
- medium saucepan
- Whisk or electric mixer
- Fine-mesh sifter
Ingredients
Dry Ingredients
- 1¼ cups (200g) mochiko sweet rice flour
- ⅓ cup (36g) dutch-processed cocoa powder
- 1¾ teaspoons baking powder
- 1 teaspoon espresso powder (optional)
- ½ teaspoon kosher salt
Wet Ingredients
- ½ cup (100g) dark brown sugar
- ½ cup (100g) granulated sugar
- 4 oz bittersweet chocolate, chopped and divided
- ½ cup (113g) unsalted butter
- 2 large eggs, room temperature
- 1½ cups (360ml) whole milk
- 1 teaspoon vanilla extract
Instructions
- Preheat oven to 350°F (175°C). Line an 8×8-inch metal baking pan with parchment paper, leaving overhang for easy removal. This ensures even baking and prevents sticking.
- Heat ½ cup butter in a medium saucepan over medium heat until it foams and develops a golden-brown color with nutty aroma, about 3-4 minutes. This adds depth of flavor.
- Pour the hot browned butter over 2 ounces of the chopped chocolate and both sugars in a large bowl. Let sit for 2-3 minutes to melt, then whisk until smooth and glossy.
- In a separate bowl, sift together mochiko flour, cocoa powder, baking powder, espresso powder (if using), and salt until evenly combined with no lumps.
- Allow chocolate mixture to cool for 5 minutes. Add eggs one at a time, beating vigorously for 2-3 minutes total. This vigorous mixing creates the meringue layer for crackly tops.
- Add the sifted dry ingredients to the chocolate mixture in two additions, alternating with the milk and vanilla. Mix until just combined. Batter will be very thin – this is normal.
- Pour batter into prepared pan and sprinkle remaining 2 ounces chopped chocolate evenly over surface. Bake for 45-60 minutes until center is just set with slight jiggle.
- Cool completely in pan for at least 2 hours before cutting. For cleanest slices, refrigerate 30 minutes before cutting and wipe knife between cuts to prevent sticking.


 Recipe")