
 Recipe")
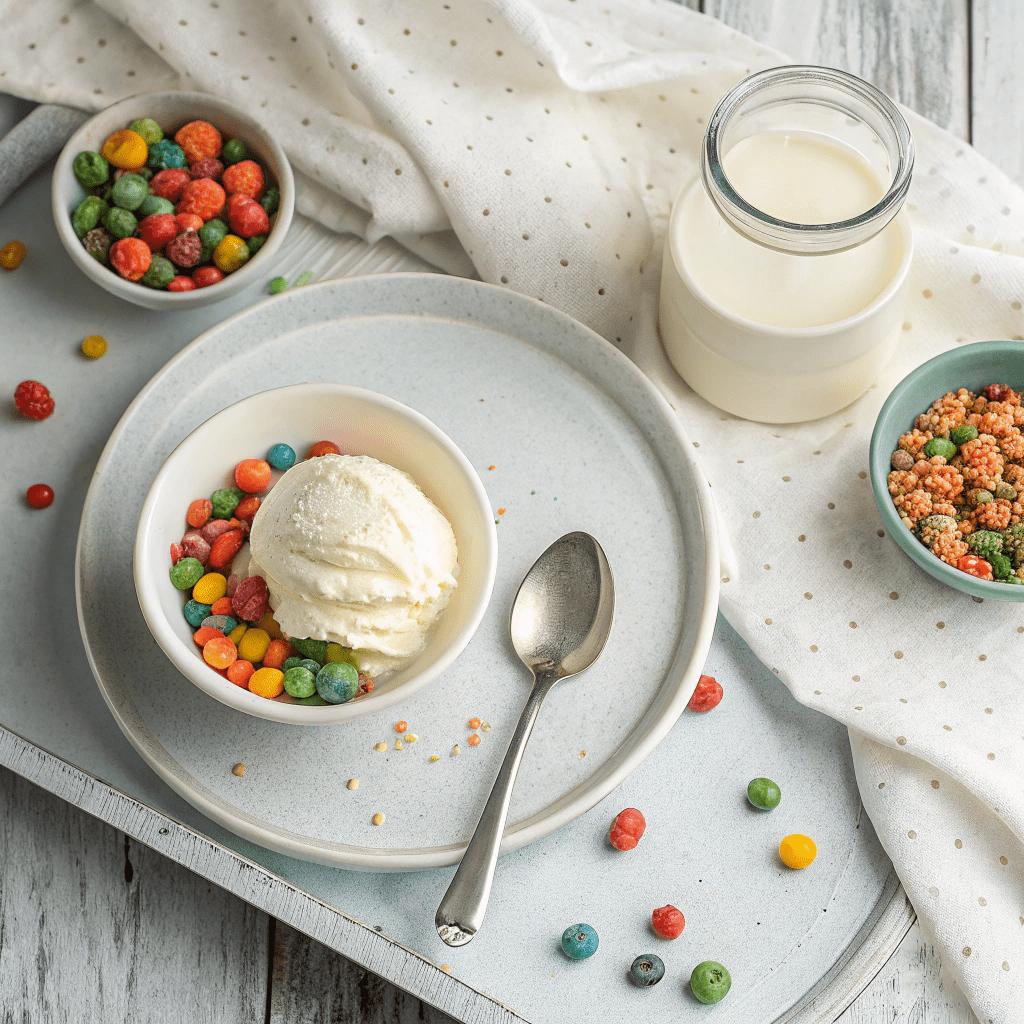
This Cereal Milk Ice Cream brings the nostalgic charm of breakfast straight to your dessert bowl. Creamy, dreamy, and bursting with the sweet, toasty flavor of your favorite cereal, it’s a treat that’s as fun to make as it is to eat. Best of all, you don’t need an ice cream machine—just 30 minutes of prep for a velvety, scoopable delight. The subtle crunch of cereal bits adds a playful texture, while the rich, smooth base melts luxuriously on your tongue. Perfect for satisfying a sweet tooth or impressing guests, this recipe is a game-changer for dessert lovers. Dive into a bowl of pure, comforting joy that’s as easy as it is irresistible.
Ingredients for Cereal Milk Ice Cream (No Machine)
- 1 cup (1 ½ oz/ 40g) fruity pebbles or any cereal of your choice
- 2 cups (16oz/450 ml) cold whipping cream (all-purpose cream or heavy cream)
- 14 ounces (1 can/ 400ml) cold condensed milk (fat-free or regular)
- A handful of cereal for mixing in at the end
Step-by-Step Instructions
- Pour the cold whipping cream into a bowl and stir in the cereal. Let it sit and soak for 20 minutes to infuse the cream with the cereal flavor. (Don’t soak too long, or the cereal will absorb too much cream.)
- Pass the cream through a sieve to separate the cereal. Press the cereal gently to extract any excess cream—this is where the flavor is!
- Whip the cold cream on medium/high speed using a stand mixer with a whisk attachment or a hand mixer until soft peaks form.
- Turn off the mixer and pour the cold condensed milk into the whipped cream.
- Turn the mixer back to high speed and whisk until the mixture is thick and forms stiff peaks.
- Stir in a handful of extra cereal for added flavor and texture.
- Transfer the mixture to a large resealable container and freeze for at least 4 hours or overnight. Store in the freezer for up to 6 weeks.
Fun Toppings to Elevate Your Cereal Milk Ice Cream
Take your cereal milk ice cream to the next level with creative toppings! Try adding a drizzle of chocolate syrup or caramel sauce for extra sweetness. For a crunchy twist, sprinkle on more fruity pebbles or crushed graham crackers. Fresh fruit like sliced bananas or strawberries can add a refreshing contrast. Don’t forget a dollop of whipped cream for a decadent finish!
Perfect Pairings for Serving
This cereal milk ice cream is a star on its own, but it also pairs wonderfully with other desserts. Serve it alongside warm brownies or freshly baked cookies for a delightful contrast of temperatures. You can also use it as a topping for waffles or pancakes for a fun breakfast treat. For a nostalgic twist, pair it with a bowl of the same cereal you used in the recipe!
Storage Tips for Maximum Freshness
Store your ice cream in an airtight container to prevent freezer burn and keep it fresh for up to 6 weeks. If the ice cream becomes too hard, let it sit at room temperature for 5-10 minutes before scooping. For easier serving, consider using an ice cream scoop dipped in warm water. Avoid refreezing melted ice cream to maintain its creamy texture.
Easy Recipe Variations to Try
Switch up the flavors by using different cereals like cocoa puffs, cornflakes, or cinnamon toast crunch. For a nutty twist, mix in chopped nuts or peanut butter swirls. If you’re feeling adventurous, add a splash of vanilla extract or almond extract to the cream before whipping. You can even fold in mini marshmallows for a s’mores-inspired treat!
No Machine? No Problem!
This recipe is perfect for those without an ice cream maker. The key is to whip the cream to stiff peaks before folding in the condensed milk, which creates a smooth and creamy base. If you don’t have a stand mixer, a hand mixer or even a whisk and some elbow grease will do the trick. Just be patient and whip until the mixture is thick and airy!

Cereal Milk Ice Cream (No Machine)
Ingredients
- 1 cup fruity pebbles, or any cereal 1 ½ oz/ 40g
- 2 cups cold whipping cream 16oz/450 ml (all purpose cream or heavy cream)
- 14 ounces cold condensed milk 1 can/ 400ml (fat-free or regular)
- A handful cereal for mixing in at the end
Instructions
- Pour the cream into a bowl and stir in the cereal. Let it sit and soak for 20 minutes, not too long as it will soak up the cream. This will infuse the cream with the flavors of the cereal.
- Pass the cream through a sieve. Feel free to push out any excess cream from the cereal too. It’s all flavors.
- Whip the cold cream on medium/ high in a stand mixer fitted with the whisk attachment (or using a hand mixer) until soft peaks form.
- Turn off the machine and pour the condensed milk into the whipped cream.
- Turn the speed back up high again and whisk until the mixture is thick and stiff peaks.
- Now you have your ice cream base you can add in your desired flavors once it is nice and thick.
- Stir in the extra cereal for even more flavor and texture.
- Place in a large resealable container and freeze at least 4 hours or overnight before eating. Keep for up to 6 weeks.

