

This Coffee Dairy-Free Ice Cream is a dreamy blend of bold, rich flavors and creamy, velvety texture that’s impossible to resist. Perfect for coffee lovers, it delivers a smooth, indulgent experience without a drop of dairy. The deep, aromatic notes of coffee shine through, balanced by a hint of sweetness that lingers on your palate. In just 45 minutes, you can whip up this luscious treat that’s as satisfying as it is simple to make.
Each spoonful offers a cool, refreshing escape with a luxurious consistency that rivals traditional ice cream. Whether you’re vegan, lactose-intolerant, or just seeking a delightful twist, this recipe is a must-try. The combination of robust coffee and silky texture creates a dessert that’s both comforting and invigorating. It’s the perfect way to end a meal or enjoy a midday pick-me-up.
Ingredients for Coffee Dairy-Free Ice Cream
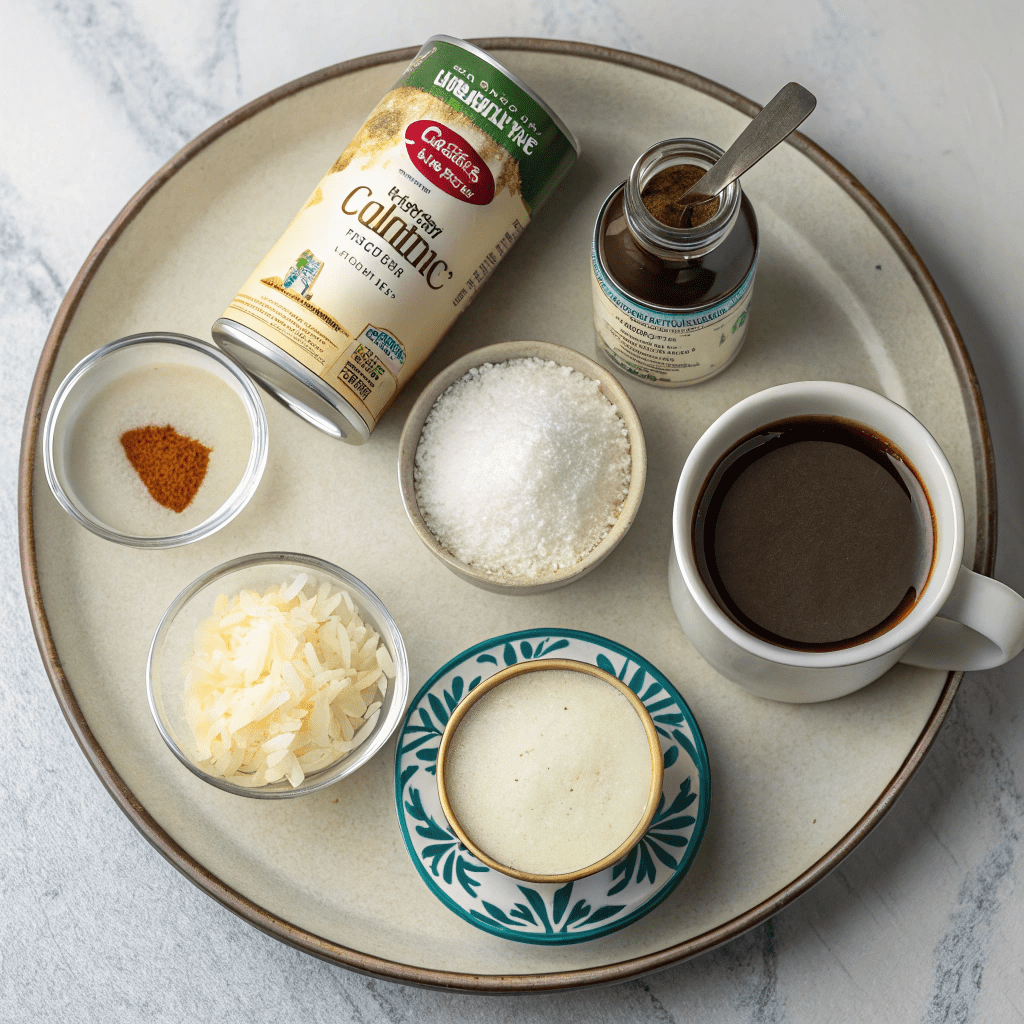
- 1 recipe of coconut condensed milk (homemade or store-bought)
- 2 cans (13.5 oz each) full-fat coconut milk (chilled for at least 6 hours, preferably overnight)
- 2 tsp vanilla extract (optional, for added flavor)
- ¼ cup strong coffee (chilled, use brewed coffee or espresso)
Step-by-Step Instructions
- Chill the coconut milk: Place 2 cans of full-fat coconut milk in the refrigerator for at least 6 hours, preferably overnight. This helps separate the cream from the liquid.
- Prepare the coconut cream: Open the chilled cans of coconut milk. The cream will have risen to the top. Carefully scoop the cream into a mixing bowl. (Reserve the coconut water for smoothies or other recipes.)
- Whip the coconut cream: Using an electric beater or stand mixer, whip the coconut cream on high speed for 3-4 minutes until it becomes light, fluffy, and resembles whipped cream.
- Add condensed coconut milk: Pour in the coconut condensed milk and whip on high speed for another 2-3 minutes until the mixture thickens.
- Incorporate flavorings: Stir in the vanilla extract (if using), then add the chilled coffee. Whisk until fully combined and the mixture is even in color.
- Freeze the ice cream: Transfer the mixture to a lidded container and freeze for at least 4 hours or overnight. The ice cream will keep in the freezer for 6-8 weeks.
- Serve: Before serving, let the ice cream sit at room temperature for a few minutes to soften slightly, making it easier to scoop.
Perfect Pairings: Toppings and Serving Ideas
Elevate your Coffee Dairy-Free Ice Cream with a drizzle of chocolate sauce or a sprinkle of crushed cocoa nibs for a rich, indulgent treat. For a crunchy twist, add toasted coconut flakes or chopped almonds. Serve in a waffle cone or alongside a warm dairy-free brownie for a decadent dessert experience.
Storage Tips for Creamy Perfection
Store your ice cream in an airtight container to prevent freezer burn and maintain its creamy texture. If it freezes too hard, let it sit at room temperature for 5-10 minutes before scooping. For longer storage, keep it in the freezer for up to 6-8 weeks, though it’s so delicious, it might not last that long!
Customize Your Coffee Creation
Experiment with espresso powder for a bolder coffee flavor or add a pinch of cinnamon for a warm, spiced twist. For a mocha version, mix in cocoa powder or melted dairy-free chocolate. You can also swap the coffee for chai concentrate for a unique, aromatic variation.
Time-Saving Hacks for Busy Days
To speed up the chilling process, place the coconut milk cans in the freezer for 1-2 hours instead of the fridge. Use a pre-made dairy-free condensed milk to skip a step. If you’re short on time, freeze the ice cream in individual portions for quicker thawing when you’re ready to enjoy.
Essential Equipment for Smooth Scooping
A stand mixer or electric hand mixer is key for whipping the coconut cream to the perfect fluffy consistency. Use a silicone spatula to scrape the bowl clean and ensure no deliciousness goes to waste. A lidded freezer-safe container is a must for storing your ice cream without compromising its texture.

Coffee Dairy-Free Ice Cream
Ingredients
- 1 recipe coconut condensed milk
- 2 cans full fat coconut milk 13.5 oz each
- 2 tsp vanilla extract optional
- ¼ cup strong coffee chilled
Instructions
- Chill 2 cans of coconut milk in the refrigerator for at least 6 hours, preferrably overnight.
- Open the 2 cans of chilled coconut milk. The cream should have risen to the top. Carefully scoop the cream into a mixing bowl. (Reserve the coconut water that has separated from the cream to use in a smoothie.)
- With an electric beater or a stand mixer, whip up the coconut cream on high speed for 3-4 minutes until it’s light, fluffy and looks just like whipped cream.
- Add the condensed coconut milk and whip on high speed for another 2-3 minutes or until thickened.
- Stir in vanilla extract if desired then add in the coffee and whisk until combined and even in color.
- Transfer to a lidded container and freeze for 4 hours or overnight. This will last in the freezer 6-8 weeks. As this ice cream does freeze harder than my other just give it a few minutes at room temperature to make it easier to scoop.
- TO MAKE THE LABELS: Get the Ice Cream Label Template PDF.

