

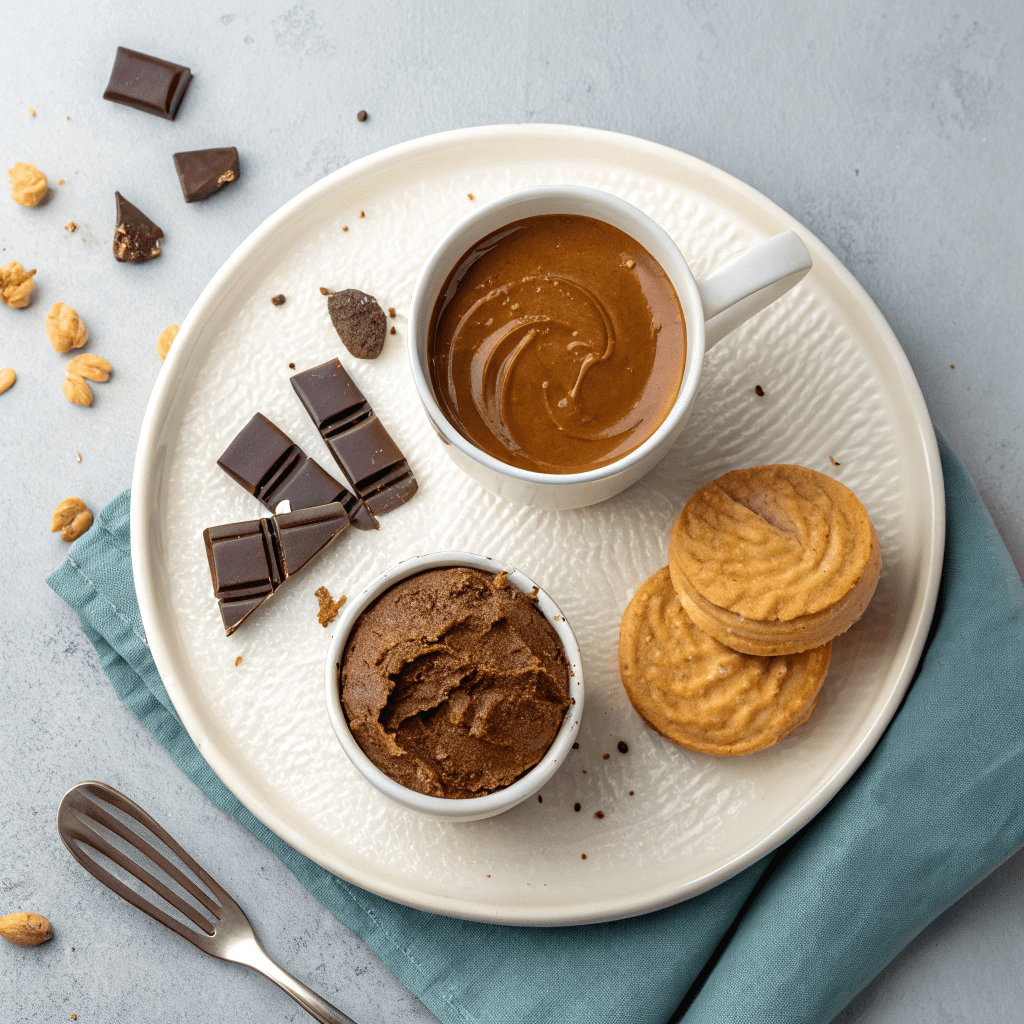
Homemade cookie butter is a velvety, indulgent spread that brings a rich caramelized sweetness to every bite. Its smooth, creamy texture and warm, spiced flavor make it a versatile star in your kitchen. In just 15 minutes, you can create endless treats that feel like a hug in every spoonful. Whether swirled into oatmeal, spread on toast, or dolloped on pancakes, it adds a decadent touch to your favorite dishes.
This recipe unlocks the magic of cookie butter, blending its buttery richness with a hint of cinnamon and brown sugar. Its luscious consistency pairs perfectly with crunchy granola, fresh fruit, or even as a dip for pretzels. Quick to prepare and endlessly customizable, it’s a pantry staple that turns simple moments into something extraordinary. Dive in and let its comforting flavors elevate your everyday snacks and desserts!
What You’ll Need
- 1 cup (5 oz/150g) milk chocolate (use high-quality chocolate for best results; dark chocolate can be substituted)
- 1/2 cup (4 oz/120g) Nutter Butter cookie butter (you can use homemade or store-bought cookie butter)
How to Make Chocolate Cookie Butter Cups
- Melt the chocolate: Gently melt the milk chocolate in the microwave (in 20-second intervals, stirring in between) or over a double boiler until smooth and glossy.
- Prepare the molds: Brush a thin layer of melted chocolate into small cupcake or truffle cases. Use a mini cupcake tin if available to help them hold their shape.
- Set the base: Place the molds in the fridge for about 5-10 minutes, or until the chocolate layer is completely set.
- Add the filling: Once set, fill each mold about 3/4 of the way with Nutter Butter cookie butter, spreading it evenly.
- Top with chocolate: Pour more melted chocolate over the cookie butter, ensuring it reaches the edges to seal the cups. Use a spoon to smooth the top.
- Chill and enjoy: Return the molds to the fridge for another 10-15 minutes, or until fully hardened. Pop them out and enjoy your delicious creation!
Creative Serving Suggestions
These cookie butter chocolate cups are perfect as a sweet treat on their own, but you can elevate them by serving with a scoop of vanilla ice cream or a drizzle of caramel sauce. For a fun twist, sprinkle crushed nuts or sea salt on top before the chocolate sets for added texture and flavor.
Storage Tips for Freshness
Store your cookie butter chocolate cups in an airtight container in the fridge for up to a week. If you want to keep them longer, they freeze beautifully! Just place them in a single layer in a freezer-safe container and thaw for 10 minutes before enjoying.
Time-Saving Hacks
To speed up the process, use pre-melted chocolate or chocolate chips for convenience. If you’re making a large batch, consider using a silicone mini cupcake mold—it’s easier to pop the cups out once they’re set, saving you time and effort.
Recipe Variations to Try
Experiment with different types of chocolate, like dark or white, for a unique flavor profile. You can also swap out the cookie butter for peanut butter, Nutella, or even a fruity jam to create a variety of delicious fillings.
Equipment Guidance for Success
If you don’t have a mini cupcake tin, silicone molds or even small paper cups work just as well. A pastry brush is handy for evenly coating the chocolate layers, but a spoon can do the trick if you’re in a pinch.
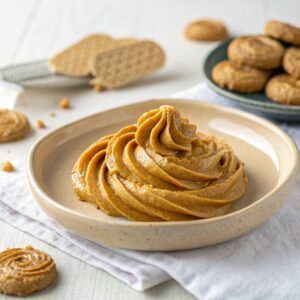
The Best Uses for Homemade Cookie Butter
Ingredients
- 1 cup Milk Chocolate 5oz/150g
- 1/2 cup Nutter Butter Cookie Butter 4 oz/120g
Instructions
- Melt the chocolate gently in the microwave or over a ban marie
- In a small cupcake/ truffle case brush a layer of melted chocolate.
- Place in the fridge to set. (If you have a mini cupcake tin place then in that so they hold their shape)
- When the chocolate is set fill 3/4 of the way with your cookie butter
- Pour more melted chocolate on top and spread with a spoon to the edges
- Place in the fridge again to harden and then enjoy!

