

Homemade Snow Cones: 3 Fresh Fruit Flavors! bring a burst of summer vibes to your kitchen in just 30 minutes. These icy treats are made with real, juicy fruits, offering a refreshing and natural sweetness that’s hard to resist. The smooth, fluffy snow paired with vibrant syrups creates a delightful contrast of textures and colors. Perfect for hot days or a fun family activity, these snow cones are as easy to make as they are delicious. With flavors like tangy lemon, sweet strawberry, and tropical mango, every bite is a mini vacation. Plus, you can feel good knowing they’re free from artificial additives.
What makes these snow cones special is their customizable nature—mix and match flavors to suit your mood or try a blend for something new. The syrups, made from fresh fruit purees, are rich, aromatic, and bursting with natural goodness. In just half an hour, you’ll have a crowd-pleasing dessert that’s both light and satisfying. Whether you’re hosting a backyard party or simply cooling off after a long day, these homemade treats are sure to bring smiles. Dive into a world of icy, fruity bliss—it’s summer in every spoonful!
What You’ll Need for Homemade Snow Cones
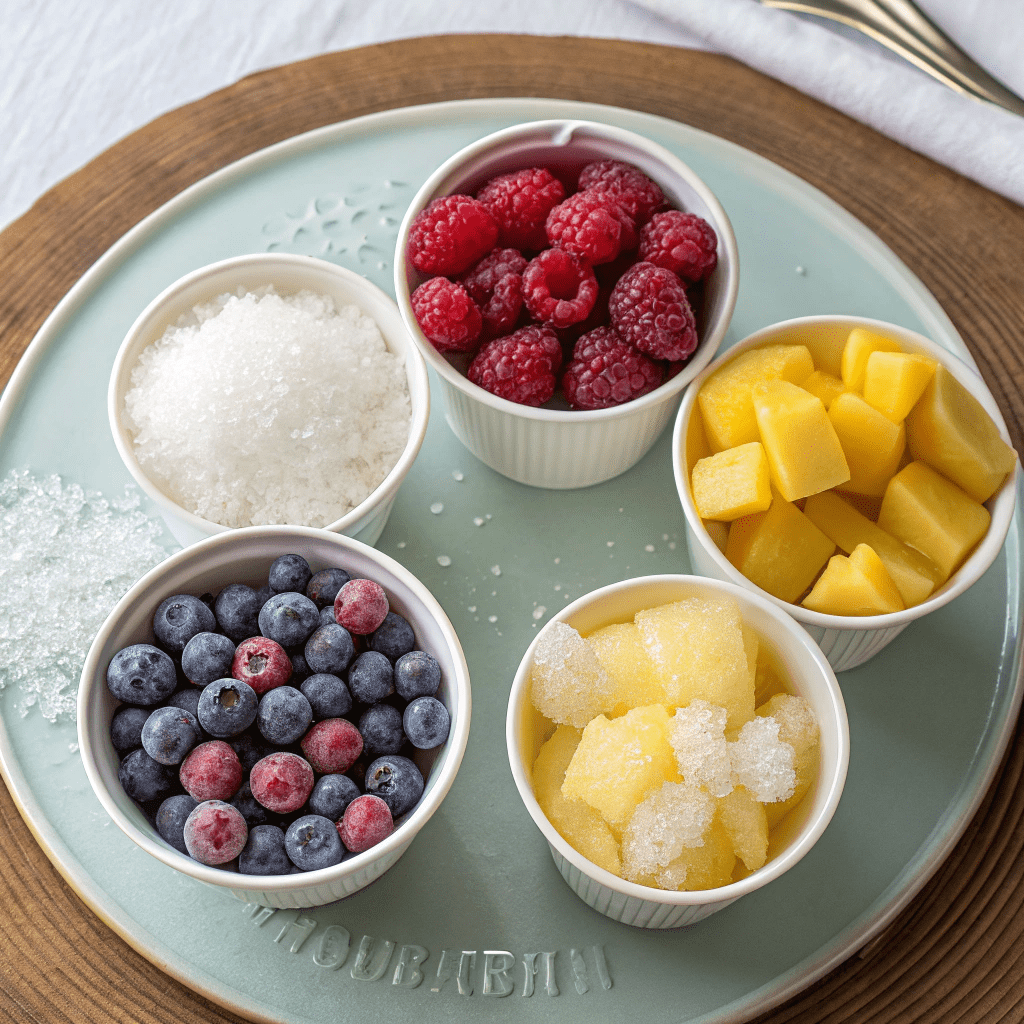
- 2 cups (10oz/300g) ice (for shaving into snow cone texture)
- 1 cup (5oz/150g) raspberries (frozen or fresh)
- 1 cup (5oz/150g) mango (frozen or fresh)
- 1 cup (5oz/150g) blueberries (frozen or fresh)
- 1 cup (5oz/150g) pineapple (frozen or fresh)
- 2-3 tablespoons sugar per fruit (adjust based on sweetness of fruit)
How to Make Fresh Fruit Snow Cones
- Prepare the fruit syrups: In a medium saucepan, combine the sugar and fruit. Simmer over medium heat for 3-4 minutes, or until the fruit softens and the sugar dissolves.
- Blend the mixture: Transfer the fruit mixture to a food processor and blend into a smooth puree. If you don’t have a processor, pass it through a fine sieve instead.
- Strain the syrup: Strain the puree over a bowl to remove seeds or bits. If the syrup is too thick, thin it with a little juice or water. Store in the fridge for up to 7 days.
- Shave the ice: Place ice cubes in a blender and pulse until you achieve fine shaved ice. Store in the freezer if not using immediately.
- Assemble the snow cones: Scoop shaved ice into a serving dish and pack it tightly. Pour your fruit syrup over the ice and enjoy immediately!
- Optional rainbow effect: For a colorful twist, pour individual flavors into squirt bottles or jugs with spouts. Drizzle each flavor in a line across the ice to create a rainbow. Serve and enjoy!
Fun Topping Ideas to Elevate Your Snow Cones
Take your snow cones to the next level with creative toppings! Try adding a dollop of whipped cream, a sprinkle of shredded coconut, or a drizzle of condensed milk for a creamy twist. For a crunchy texture, toss on some chopped nuts or colorful sprinkles. If you’re feeling adventurous, add a pinch of chili powder or Tajín for a sweet-and-spicy kick!
Perfect Serving Suggestions for Any Occasion
Serve your snow cones in festive paper cones or colorful bowls for a fun, summery vibe. They’re perfect for parties, picnics, or even as a refreshing dessert after a BBQ. For a kid-friendly treat, let little ones customize their own snow cones with different syrups and toppings. Don’t forget to pair them with a cold drink for the ultimate refreshment!
Quick Tips for Storing Your Fruit Syrups
Store your homemade fruit syrups in airtight jars or bottles in the fridge for up to 7 days. Label each container with the flavor and date to keep track. If the syrup thickens over time, simply thin it out with a splash of water or juice before using. For longer storage, freeze the syrups in ice cube trays and thaw as needed!
Easy Recipe Variations to Mix It Up
Experiment with different fruits like strawberries, kiwi, or watermelon for unique flavors. For a tropical twist, mix coconut water into your syrup. If you’re watching your sugar intake, swap regular sugar for honey or a sugar substitute. You can even add a splash of lime juice or mint for a zesty, refreshing twist!
Time-Saving Hacks for Busy Days
Save time by prepping your fruit syrups in advance and storing them in the fridge. Use pre-frozen fruit to skip the simmering step—just blend and strain! If you’re short on time, buy pre-shaved ice from your local grocery store or use crushed ice instead. These small tweaks make it easy to enjoy homemade snow cones in a flash!

Homemade Snow Cones: 3 Fresh Fruit Flavors!
Ingredients
- 2 cups ice 10oz/300g
- 1 cup raspberries frozen or fresh, 5oz/150g
- 1 cup mango frozen or fresh, 5oz/150g
- 1 cup blueberries frozen or fresh, 5oz/150g
- 1 cup pineapple frozen or fresh, 5oz/150g
- 2-3 tablespoons sugar per fruit depending on the sweetness of your fruit
Instructions
- In a medium saucepan combine the sugar and fruit.
- Simmer until the fruit has softened and the sugar dissolved, roughly 3-4 minutes.
- Transfer your fruit mixture to a food processor and blend the fruit into a smooth puree. If you don’t have a processor try passing it through a fine sieve.
- Once pureed strain over a bowl to remove any seeds or bits from the fruit. If you find the syrup a bit too thick at this stage thin it out with some juice or a little water. Store the syrups in the fridge for up to 7 days.
- Place ice cubes in a blender and pulse to create fine shaved ice. Store in the freezer if you are not using it straight away.
- Scoop your shaved ice into serving dish of your choice and pack it tight together. Pour over your fruit syrup and enjoy immediately!
- To make a rainbow snow cone, pour your individual flavors into a squirt bottle or jug with a spout. Pour each flavor in a line across our scoop of ice, creating a rainbow effect. Enjoy Immediately!!!

