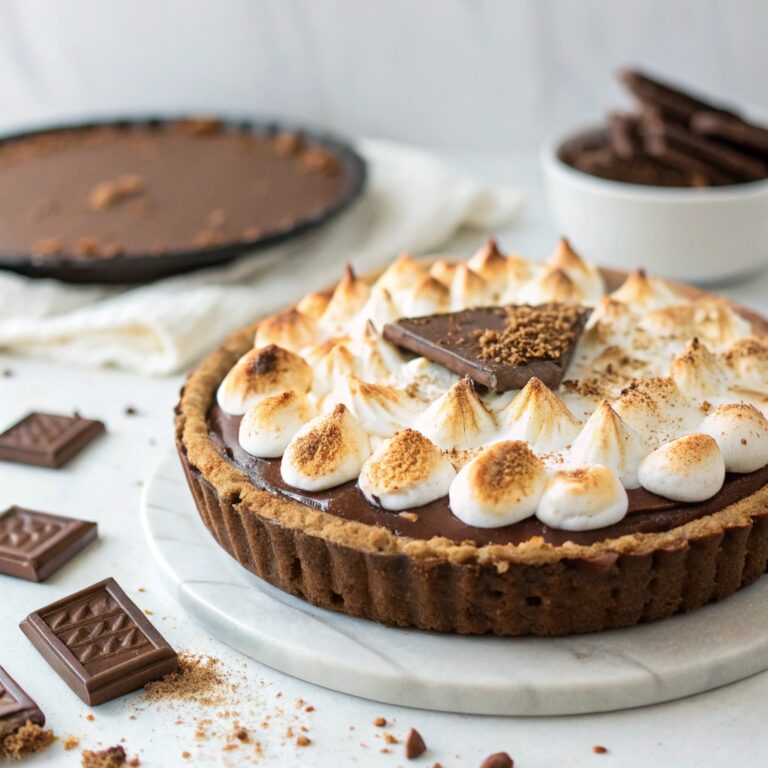
This No Bake S’more Pie is a dreamy dessert that brings the campfire favorite to your table in just 30 minutes. With a crunchy graham cracker crust, a velvety chocolate filling, and a fluffy toasted marshmallow topping, every bite is a perfect balance of textures. The rich, creamy chocolate pairs beautifully with the sweet, gooey marshmallows, creating a flavor combination that’s simply irresistible. It’s the ultimate treat for anyone who loves the classic s’mores experience without the fuss of a fire.
Perfect for busy days or last-minute gatherings, this pie requires no oven and minimal effort. The cool, smooth filling contrasts with the warm, toasted marshmallow layer, making it a sensory delight. Whether you’re sharing it with friends or indulging solo, this dessert is guaranteed to bring smiles and satisfy your sweet tooth. It’s a nostalgic yet elegant twist on a beloved classic that’s sure to become a favorite.
Ingredients for No Bake S’more Pie

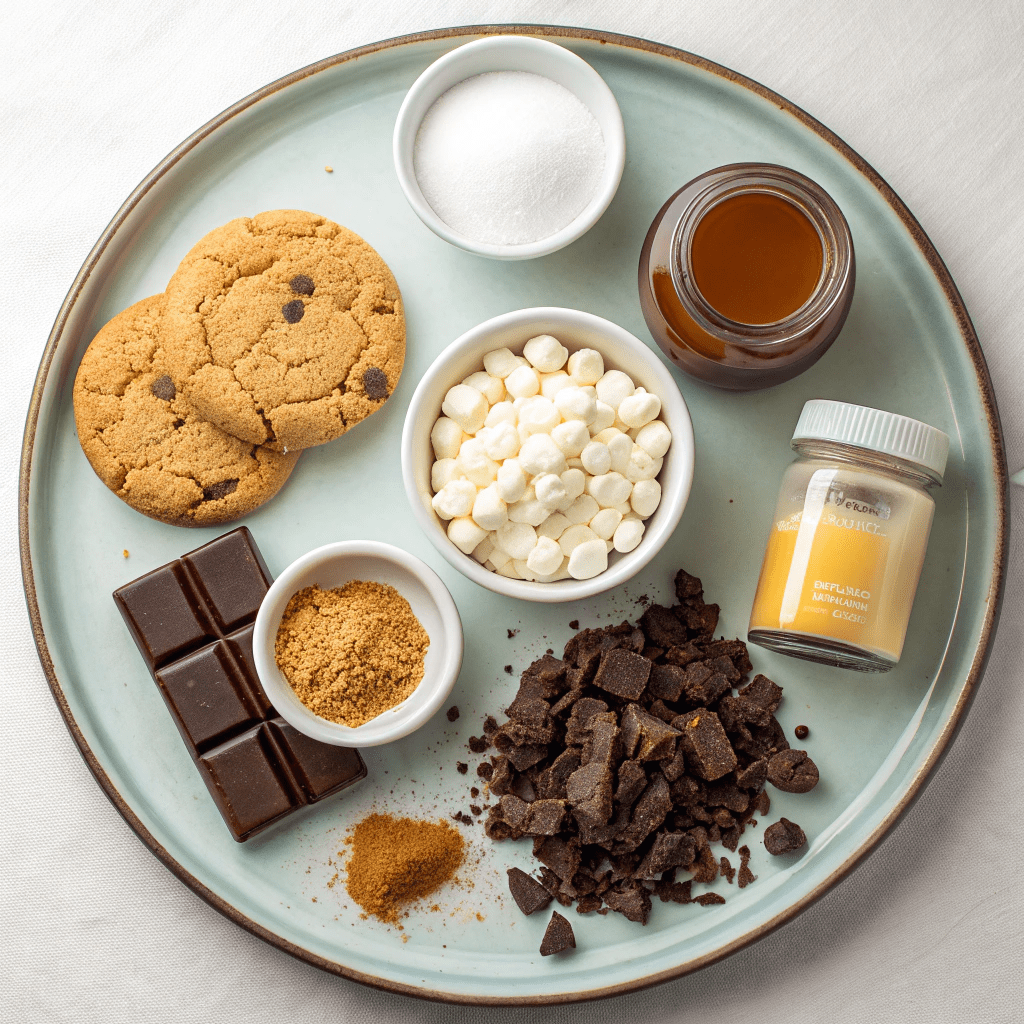
- 2 ½ cups (7.5oz/213g) cookie crumbs (use graham crackers or digestive biscuits)
- 1 cup (8oz/225g) butter, melted
- 1 ½ cups (10oz/252g) bittersweet chocolate (72% cocoa solids, or substitute with semi-sweet chocolate)
- 1 ½ teaspoons cornstarch (cornflour)
- ½ teaspoon salt
- 2 teaspoons vanilla extract
- 2 cups (16fl oz/450g) full-fat milk (or use heavy cream for a richer texture)
- Marshmallow fluff (store-bought or homemade)
Step-by-Step Instructions
- Prepare the crust: Blend the cookies into fine crumbs. Stir in the melted butter and blend again. Press the mixture into a 9-inch pie dish. Tip: Lay 2 sheets of cling wrap in the dish for easy pie removal later.
- Make the chocolate filling: In a medium saucepan over medium heat, combine the milk and chocolate. Bring to a simmer, stirring gently until the chocolate melts.
- Thicken the filling: Mix the cornstarch with 4 teaspoons of water to form a runny paste. Whisk this into the chocolate mixture, stirring constantly until thick and smooth. Simmer on low for 2-3 minutes to cook out the cornstarch. Remove from heat.
- Finish the filling: Whisk in the vanilla extract and salt. Let the mixture cool, covering the pan with cling film to prevent a skin from forming.
- Assemble the pie: Pour the cooled chocolate filling into the prepared crust. Spread evenly with a spatula if needed. Refrigerate for 1 hour to set.
- Prepare the marshmallow topping: While the pie sets, make or prepare the marshmallow fluff. Spoon about ¾ of the fluff onto the pie, spreading carefully as it will expand.
- Toast the topping: On low heat, carefully toast the marshmallow fluff under the grill until golden brown. Watch closely as it toasts quickly and can burn.
- Serve or store: Serve immediately or refrigerate for up to 3 days.
Perfect Pairings: Serving Suggestions
This No Bake S’more Pie is a showstopper on its own, but you can elevate it further with a scoop of vanilla ice cream or a dollop of whipped cream. For a fun twist, drizzle some caramel or chocolate sauce over the top before serving. Pair it with a cup of coffee or hot chocolate for the ultimate cozy dessert experience.
Storage Secrets: Keeping It Fresh
Store your pie in the fridge, covered with cling wrap or in an airtight container, for up to 3 days. If you’ve toasted the marshmallow fluff, it’s best enjoyed within 1-2 days for optimal texture. Avoid freezing, as the marshmallow layer may lose its fluffy consistency.
Time-Saving Tips for Busy Bakers
To save time, use pre-made graham cracker crumbs or store-bought marshmallow fluff. You can also prepare the chocolate pudding and crust a day ahead, assembling and toasting the marshmallow layer just before serving. This way, you’ll have a delicious dessert ready in minutes!
Recipe Variations: Get Creative
Swap the bittersweet chocolate for milk or dark chocolate to suit your taste. Add a layer of peanut butter or Nutella between the crust and pudding for a decadent twist. For a nutty crunch, sprinkle chopped pecans or almonds on top before toasting the marshmallow fluff.
Equipment Guidance: Tools You’ll Need
A food processor or blender works best for turning cookies into fine crumbs. Use a whisk for the chocolate pudding to ensure a smooth, lump-free texture. A 9-inch pie dish and cling wrap are essential for easy removal and serving. A kitchen torch can also be handy for toasting the marshmallow fluff evenly.

No Bake S’more Pie
Ingredients
Crust
- 2 1/2 cups cookie crumbs
- 1 cup butter, melted
Filling
- 1 1/2 cups bittersweet chocolate (72% cocoa solids)
- 1 1/2 teaspoon cornstarch (cornflour)
- 1/2 teaspoon salt
- 2 teaspoon vanilla extract
- 2 Cup full fat Milk
Topping
- Marshmallow fluff
Instructions
- Blend the cookies until they are fine crumbs. Stir in the melted butter and blend it together again.
- Press the crust into a 9 inch pie dish. (Lay 2 sheets of cling wrap into your dish to make for easy pie removal later)
- In a medium-sized saucepan over medium heat, add the milk and chocolate.
- Bring the mixture to a simmer and let the chocolate melt gently.
- While simmering, mix the cornstarch with 4 teaspoons of water together to form a runny paste.
- Whisk the cornstarch mix into the chocolate whisking constantly until the mix is thick and smooth.
- Simmer on very low for about 2-3 minutes until the cornstarch is cooked out. Turn off the heat.
- Whisk in the vanilla extract and salt.
- Set aside to cool down. To prevent it from forming a skin on top lay cling film over the pan.
- Once cooled pour the chocolate pudding into your prepared crust. Spread it out with a spatula if it has thickened up. Place the pie in the fridge to set for 1 hour.
- For the Marshmallow Fluff: You can make it while the pie is setting in the fridge or you can make it up to a week in advance and store it in jars ready to use.
- Spoon around ¾ of the marshmallow fluff on top of the pie. Note that the Fluff will spread so take care not to put too much on.
- On low heat, carefully toast the top of the pie under the grill until toasted. Stand by the pie and keep a close eye on it as it toasts really fast and can burn.
- You can serve the pie straight away for place it in the fridge for up to 3 days.


