
Indulge in creamy, dreamy ice cream without the fuss of a machine—this no-churn recipe delivers artisanal quality in just 30 minutes of prep. With a velvety texture that rivals your favorite scoop shop, it’s the perfect canvas for three irresistible flavor variations.
Whether you’re craving rich chocolate, tangy fruit swirls, or a nutty caramel crunch, each bite is a celebration of smooth, luscious decadence. Plus, with just 6 hours in the freezer, you’ll be savoring your homemade creation before you know it.
This recipe is a game-changer for dessert lovers, offering a silky, melt-in-your-mouth experience that’s surprisingly simple to master. The base is luxuriously smooth, while the customizable flavors let you unleash your creativity.
Perfect for warm summer nights or cozy evenings in, this ice cream is a treat that feels both special and effortless. Dive into a bowl of pure joy—your taste buds will thank you!
Ingredients for No-Churn Artisanal Ice Cream 3 Ways
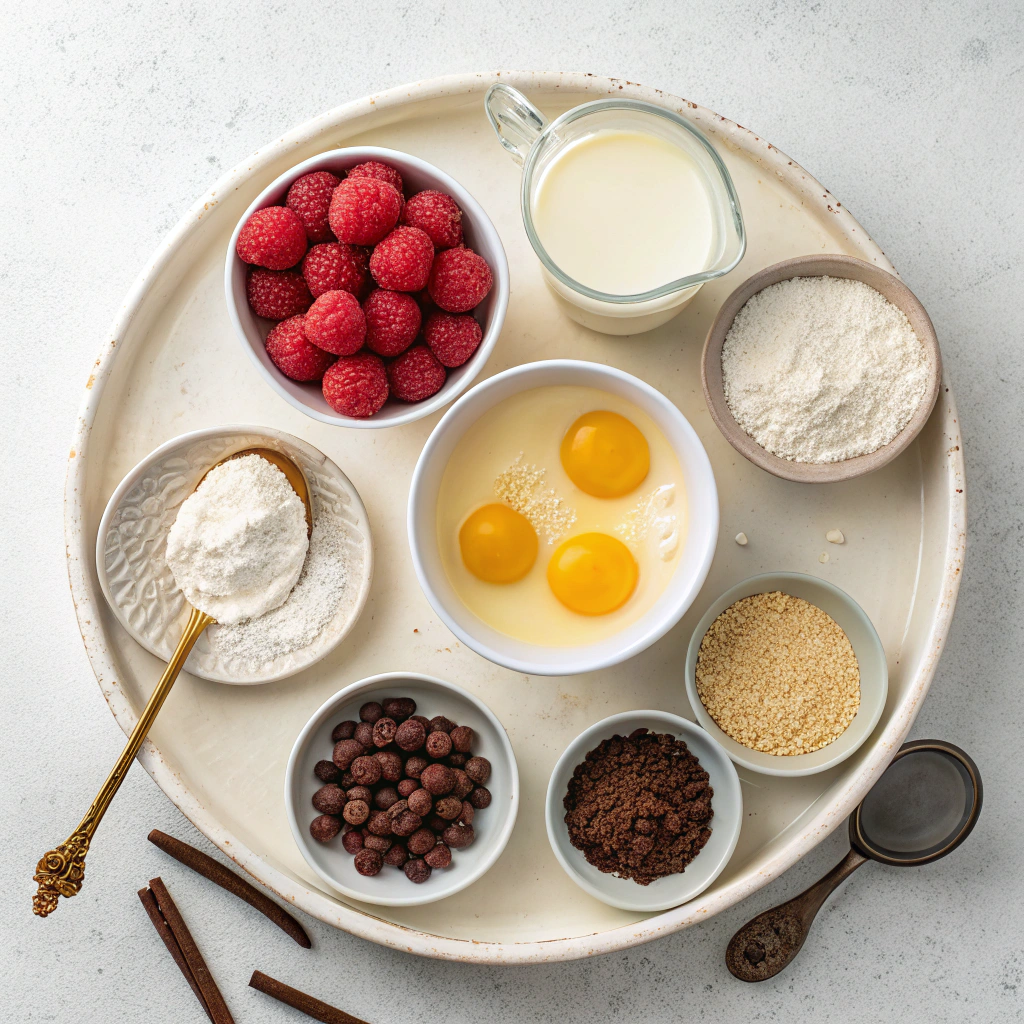
- For the Ice Cream Base:
- 4 large egg yolks, at room temperature
- ¾ cup (6 oz/170 g) granulated sugar
- ¾ teaspoon salt
- 1 cup (8 fl oz/240 ml) whole milk
- 1 teaspoon vanilla extract
- 1 ½ cups (12 fl oz/360 ml) heavy whipping cream
- For Vanilla Bean Ice Cream:
- 1 teaspoon vanilla bean paste (or substitute with vanilla extract for a milder flavor)
- For Raspberry Ripple Ice Cream:
- 1 ¼ cups (6 ¼ oz/177 g) raspberries (fresh or frozen)
- 2 tablespoons granulated sugar
- For Double Chocolate Ice Cream:
- ⅔ cup (4 oz/115 g) bittersweet chocolate, finely chopped (or use semisweet for a sweeter taste)
- ¼ cup (1 oz/28 g) cocoa powder, sifted
Step-by-Step Instructions
- Make the Ice Cream Base:
- Place a sieve over a medium, heatproof bowl and set aside near the stove.
- In another medium heatproof bowl, whisk the egg yolks, sugar, and salt until smooth. Set aside near the stove.
- Warm the milk in a medium saucepan over low heat until it comes to a simmer, about 5 minutes.
- Temper the egg mixture by whisking constantly while pouring in the hot milk, one ladleful at a time.
- Return the mixture to the pot and gently cook over low heat, stirring constantly for 6 to 8 minutes, until a thick custard forms. Immediately remove from heat and strain through the sieve.
- Stir in the vanilla extract. Let the custard cool completely (refrigerate or place the bowl over ice water to speed up cooling). This base can be made up to 24 hours in advance.
- Whip the heavy cream in a stand mixer on medium-high speed until thickened, about 3 minutes. Gently fold the whipped cream into the chilled custard until evenly mixed.
- Vanilla Bean Ice Cream:
- Stir the vanilla bean paste into the ice cream base before freezing.
- Transfer to a freezer-safe container, cover, and freeze for at least 6 hours before serving.
- Raspberry Ripple Ice Cream:
- Puree the raspberries and sugar in a food processor or blender, then strain through a fine mesh sieve to remove seeds.
- Drizzle the puree over the ice cream base and fold in only once or twice to create a ripple effect.
- Transfer to a freezer-safe container, cover, and freeze for at least 6 hours before serving.
- Double Chocolate Ice Cream:
- Add the chopped chocolate and cocoa powder to the milk in the saucepan.
- Whisk the sugar and salt into the egg yolks.
- Warm the milk mixture over medium-low heat until the chocolate melts, whisking to combine.
- Temper the eggs with this mixture and continue with the base recipe steps.
- Transfer to a freezer-safe container, cover, and freeze for at least 6 hours before serving.
Creative Toppings and Mix-Ins to Elevate Your Ice Cream
Take your no-churn ice cream to the next level with fun toppings and mix-ins! For the Vanilla Bean Ice Cream, try crushed toasted almonds, caramel sauce, or fresh berries. The Raspberry Ripple Ice Cream pairs beautifully with white chocolate shavings or a drizzle of honey.
For the Double Chocolate Ice Cream, add crushed cookies, marshmallows, or a sprinkle of sea salt for a sweet-and-salty twist. Get creative and make it your own!
Perfect Pairings: Serving Suggestions for Every Flavor
Serve your artisanal ice cream in style! The Vanilla Bean Ice Cream is a classic match for warm apple pie or brownies. The Raspberry Ripple Ice Cream shines alongside lemon pound cake or shortbread cookies.
For the Double Chocolate Ice Cream, pair it with espresso or a slice of cheesecake for a decadent treat. Don’t forget to garnish with fresh mint or edible flowers for a stunning presentation.
Time-Saving Tips for Busy Ice Cream Lovers
Short on time? Prep the custard base up to 24 hours in advance and store it in the fridge until you’re ready to whip the cream and freeze. To cool the custard quickly, place the bowl over a larger bowl filled with ice water.
If you’re making multiple flavors, consider doubling the base recipe and dividing it for each variation. This way, you’ll have a variety of ice creams ready to enjoy with minimal effort!
Essential Equipment for Smooth Ice Cream Making
To make this recipe a breeze, you’ll need a few key tools: a fine mesh sieve for straining the custard, a stand mixer or hand mixer for whipping the cream, and a freezer-safe container with a tight-fitting lid.
A food processor is handy for pureeing raspberries, and a silicone spatula makes folding in mix-ins effortless. Having the right equipment ensures your ice cream turns out perfectly every time.
Storage Tips to Keep Your Ice Cream Fresh
Store your no-churn ice cream in an airtight container to prevent freezer burn and maintain its creamy texture. It will keep well for up to 2 weeks in the freezer.
If it hardens too much, let it sit at room temperature for 5-10 minutes before scooping. For longer storage, consider labeling the container with the date and flavor to keep track of your delicious creations!
No-Churn Artisanal Ice Cream 3 Ways
Ingredients
For the Ice Cream Base
- 4 large egg yolks, at room temperature
- ¾ cup (6 oz/170 g) granulated sugar
- ¾ teaspoon salt
- 1 cup (8 floz/240 ml) whole milk
- 1 teaspoon vanilla extract
- 1 ½ cups (12 floz/360 ml) heavy whipping cream
Vanilla Bean Ice Cream
- 1 teaspoon vanilla bean paste
Raspberry Ripple Ice Cream
- 1 ¼ cups (6 ¼ oz/177 g) raspberries
- 2 tablespoons granulated sugar
Double Chocolate Ice Cream
- ⅔ cup (4 oz/115 g) bittersweet chocolate, finely chopped
- ¼ cup (1 oz/28 g) cocoa powder, sifted
Instructions
- Make the Ice Cream Base
- Place a sieve over a medium, heatproof bowl and set aside near the stove.
- In another medium heatproof bowl, whisk the egg yolks, sugar, and salt until smooth. Set aside near the stove.
- Warm the milk in a medium saucepan over low heat until it comes to a simmer, about 5 minutes.
- Temper the egg mixture by whisking it constantly while you pour in the hot milk, one ladleful at a time.
- Return the mixture to the pot and gently cook over low heat, stirring constantly for 6 to 8 minutes, just until a thick custard is formed. Immediately remove from the heat and strain the mixture through the sieve. Stir in the vanilla extract.
- Set aside to cool down fully before moving on to the next step (you can put the custard in the fridge or you can place the bowl over a bowl of ice water to cool quickly). This custard base can be made up to 24 hours in advance if needed.
- Whip the heavy cream in the bowl of a stand mixer fitted with a whisk attachment on medium-high speed until thickened, about 3 minutes. Gently fold the whipped cream into the chilled custard until evenly mixed.
- Add in your preferred flavors (vanilla, raspberry ripple or chocolate below). Store in a freezer safe container, cover with a lid and freeze for at least 6 hours before serving.
- Vanilla Bean Ice Cream
- Make your ice cream base fully but before freezing, stir in vanilla bean paste into the base, pop into a container, cover and freeze for at least 6 hours before serving.
- Raspberry Ripple Ice Cream
- Puree the raspberries and sugar in a food processor or blender and then pass through a fine mesh sieve to strain out the seeds.
- Make your ice cream base fully, but before freezing, drizzle the puree over the ice cream and fold in only once or twice to keep the raspberry distinct from the base. Place in a container, cover and freeze for at least 6 hours before serving.
- Double Chocolate Ice Cream
- Into your saucepan with your milk, add the chopped chocolate and cocoa powder.
- Whisk in the sugar and salt into the egg yolks.
- Over medium-low heat, warm the mixture until the chocolate melts. Whisk to combine.
- Once warm, temper your eggs with this mixture and continue the ice cream as above in the base recipe.
- Place in a container, cover and freeze for at least 6 hours before serving.