

These Pink Velvet Cupcakes are a dreamy, romantic treat perfect for Valentine’s Day. With their soft, velvety crumb and a hint of vanilla, they’re as delightful to bite into as they are to admire. The vibrant pink hue adds a playful touch, while the creamy frosting crowns each cupcake with a luscious finish. Ready in just 42 minutes, they’re a quick yet impressive way to celebrate love.
The combination of moist cake and silky frosting creates a melt-in-your-mouth experience that’s hard to resist. Each bite offers a balance of sweetness and richness, making them ideal for sharing or savoring solo. Whether for a special someone or a sweet self-indulgence, these cupcakes are sure to make your day feel extra special.
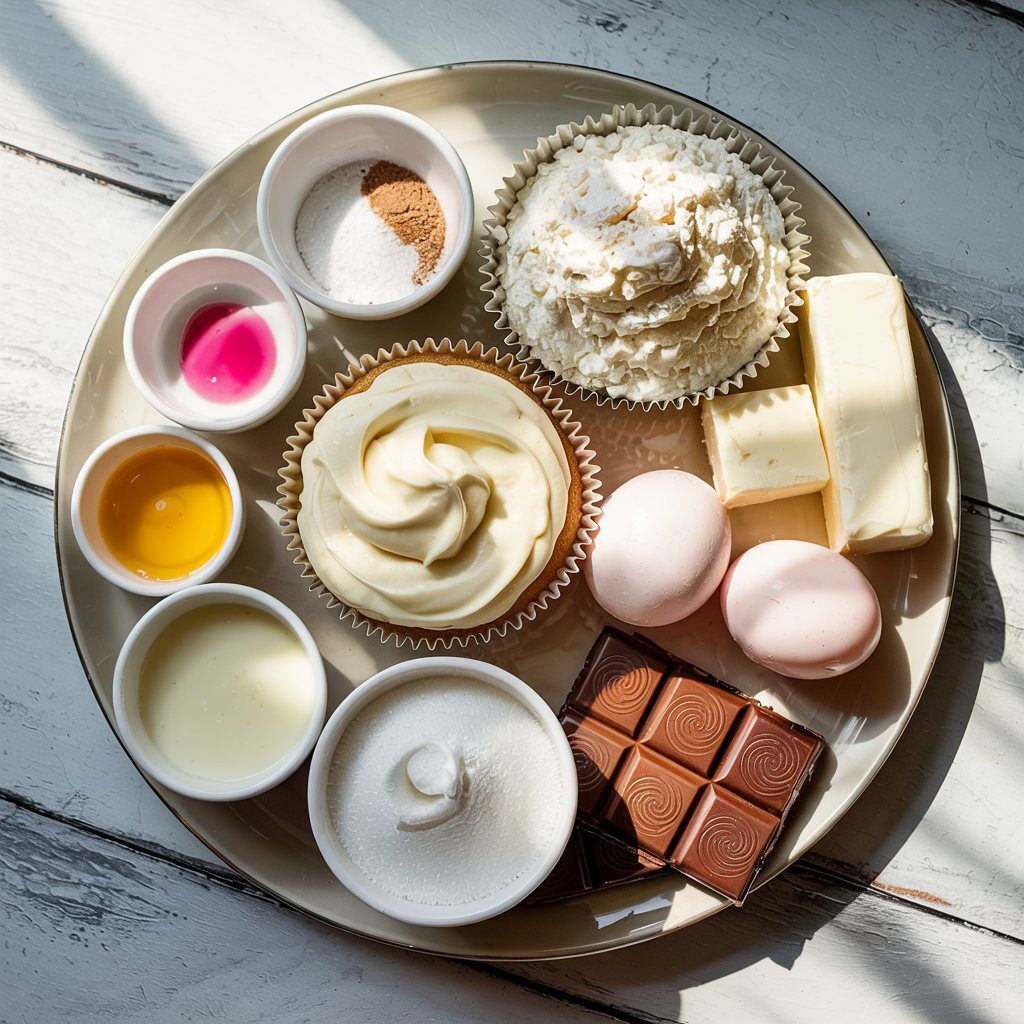
Ingredients for Pink Velvet Cupcakes
- Cupcakes:
- 1¼ cups (6¼ oz/210g) all-purpose flour
- 1 tsp baking powder
- ½ tsp baking soda
- ¼ tsp salt
- ½ cup (4 oz/120g) butter, room temperature
- ½ cup (4 oz/120g) sugar
- 2-3 drops pink food coloring (adjust for desired shade)
- 2 eggs, room temperature
- 1 tsp vanilla extract
- ½ cup (4 fl oz/120ml) buttermilk, room temperature (or substitute with ½ cup milk + ½ Tbsp lemon juice or vinegar)
- Cream Cheese Frosting:
- 2½ cups (10 oz/300g) powdered sugar, sifted lightly
- 2 cups (16 oz/480g) cream cheese, room temperature
- ½ cup (4 oz/120g) butter, room temperature
- 1 Tbsp vanilla extract
- Chocolate Decoration:
- ½ cup (3 oz/90g) white chocolate, melted
- Pink food coloring, optional
Step-by-Step Instructions
- Preheat the oven: Preheat to 350°F (180°C). Line a mini muffin pan with liners and set aside.
- Mix dry ingredients: In a medium bowl, whisk together flour, baking powder, baking soda, and salt.
- Cream butter and sugar: In another bowl, using a hand or stand mixer, cream butter and sugar until light and fluffy.
- Add wet ingredients: Beat in vanilla extract, then add eggs one at a time, mixing well after each addition. Scrape the bowl as needed. Add pink food coloring until desired color is achieved.
- Combine wet and dry ingredients: Reduce mixer speed to low. Alternate adding dry ingredients and buttermilk, beginning and ending with dry ingredients. Mix until just combined.
- Fill and bake: Spoon batter into liners, filling each about ⅔ full. Bake for 12–14 minutes, or until a toothpick inserted into the center comes out clean. Avoid overbaking to maintain the pink color. Cool completely before removing from the pan.
- Prepare frosting: In an electric mixer, beat butter and cream cheese on medium-high until smooth (2–3 minutes). Reduce speed to low, add powdered sugar, and mix until combined. Add vanilla extract. Increase speed to medium and beat until smooth and fluffy. If too soft, refrigerate for 20–60 minutes to firm up.
- Make chocolate decorations: Melt white chocolate in a microwave-safe bowl in 30-second intervals, stirring until smooth. Add pink food coloring if desired. Transfer to a decorating pen and draw designs (e.g., hearts) on parchment paper. Refrigerate until set, then gently peel off with an offset spatula.
- Frost and decorate: Fill a decorating bag with frosting and pipe onto cupcakes in a spiral motion. Carefully place chocolate decorations on top.
- Store: Cover and refrigerate cupcakes for up to 3 days.
Sweeten the Deal: Topping and Decoration Ideas
While the recipe suggests chocolate decorations, you can get creative with other toppings! Try sprinkling edible glitter, crushed freeze-dried raspberries, or even tiny edible rose petals for a romantic touch. For a simpler option, dust the frosted cupcakes with powdered sugar or drizzle with melted white chocolate.
Perfect Pairings: Serving Suggestions
These Pink Velvet Cupcakes are a delightful treat on their own, but they pair beautifully with a cup of hot cocoa, a glass of sparkling rosé, or a scoop of vanilla ice cream. Arrange them on a tiered stand for a charming Valentine’s Day dessert display that’s sure to impress.
Keep It Fresh: Storage Tips
Store your cupcakes in an airtight container in the refrigerator for up to 3 days. If you’re making them ahead of time, frost them just before serving to keep the cream cheese frosting fresh. For longer storage, freeze unfrosted cupcakes in a freezer-safe container for up to 1 month—thaw at room temperature before decorating.
Quick Fixes: Time-Saving Tips
Short on time? Use store-bought cream cheese frosting and pre-made chocolate decorations to speed up the process. You can also prepare the cupcake batter the night before and bake them fresh in the morning. For the chocolate decorations, consider using pre-colored candy melts for a quicker setup.
Baking Essentials: Equipment Guidance
For best results, use a Sweet Creations Bake Perfect 24 Cup Mini Muffin Pan to ensure even baking. A Sweet Creations Decorating Pen makes it easy to create intricate chocolate designs, while an Oodle Tip Disposable Decorating Bag ensures smooth and professional frosting application. Don’t forget a toothpick to test for doneness!

Pink Velvet Cupcakes for Valentine’s Day
Equipment
- Sweet Creations Bake Perfect 24 Cup Mini Muffin Pan
- Sweet Creations Decorating Pen
- Oodle Tip Disposable Decorating bag
Ingredients
Cupcakes
- 1¼ cups all-purpose flour 61/4oz/210g
- 1 tsp baking powder
- 1/2 tsp baking soda
- 1/4 tsp salt
- 1/2 cup butter 4oz/120g, room temperature
- 1/2 cup sugar 4oz/120g
- 2-3 drops pink food coloring
- 2 eggs room temperature
- 1 tsp vanilla extract
- 1/2 cup buttermilk 4floz/120ml, room temperature
Cream Cheese Frosting
- 2 1/2 cups powdered sugar 10oz/300g, sifted lightly
- 2 cups cream cheese 16 oz/ 480g, at room temperature
- 1/2 cup butter 4oz/ 120g, at room temperature
- 1 Tbsp vanilla extract
Chocolate Decoration
- 1/2 cup white Chocolate 3oz/90g, melted
- pink food coloring optional
Instructions
- Preheat oven to 350oF (180oC) and line your Sweet Creations Bake Perfect 24 Cup Mini Muffin Pan with liners, set aside.
- In a medium bowl, whisk together the flour, baking powder, baking soda and salt.
- In another bowl using a hand or stand mixer cream the butter and sugar until light and fluffy.
- Beat in the vanilla extract then add the eggs one at a time, mixing well before each addition. Be sure to scrape the bowl as needed. Lastly add in the food coloring to get your desired color.
- Reduce the speed to low and slowly alternate between adding the dry ingredients and the buttermilk, beginning and ending with the dry ingredients. Mix until just combined.
- Spoon the batter into the liners filling them about 2/3 of the way. Bake for 12 – 14 minutes or until a toothpick inserted into the center comes out clean. Be sure not to over bake to keep that pink color. Once baked remove from the oven and allow to cool fully before removing from the pan and decorating.
- While the cupcakes are baking prepare the cream cheese frosting: In the bowl of an electric mixer, beat butter and cream cheese on medium high until completely smooth about 2-3 minutes.
- Reduce speed to low and add sugar. Beat on low speed until combined. Add vanilla extract to combine. Increase speed to medium and beat frosting until smooth and fluffy. If your cream cheese frosting is not thick enough, place in fridge for 20 minutes to an hour until firm enough to pipe.
- Prepare your chocolate decoration: In a microwave safe bowl, melt your chocolate by microwaving in 30 second intervals, be sure not to overheat as this can cause the white chocolate to become lumpy.
- Once melted, transfer the chocolate into your Sweet Creations Decorating Pen.
- On a sheet pan lined with parchment paper draw with your decorating pen, creating any design you like, I drew small hearts. Note that if you’d like to color your chocolate decoration you can mix in food coloring before transferring it to your decorating pen.
- Allow your chocolate drawings to fully set in the refrigerator before peeling away from the parchment paper with and offset spatula. Note these can be very delicate and should be handled lightly.
- Assemble your finished cupcakes: Fill the Oodle Tip Disposable Decorating bag with the cream cheese frosting and snip the tip to the size you like, I cut mine to be a medium sized star tip.
- Pipe your cream cheese frosting in a circular motion around the cupcakes outer edge working your way to the center in a spiral motion.
- Once all of the mini cupcakes are frosted carefully place your chocolate decorations on the top.
- Cupcakes can be covered and stored in the refrigerator for up to 3 days.

