
Capture the vibrant essence of summer with The Easiest Raspberry Freezer Jam, a luscious spread bursting with fresh, tangy sweetness. In just 10 minutes of prep, you’ll create a velvety jam that’s perfect for toast, desserts, or even a spoonful straight from the jar.
Its bright, jewel-like color and smooth texture make it as beautiful as it is delicious, while the natural raspberry flavor shines through in every bite.
With a 30-minute cook time and a simple overnight rest, this recipe is a breeze for busy schedules. The result? A freezer-friendly jam that’s rich, fruity, and ready to brighten up your mornings or add a pop of flavor to any dish. It’s homemade goodness made effortlessly achievable.
What You’ll Need for Raspberry Freezer Jam
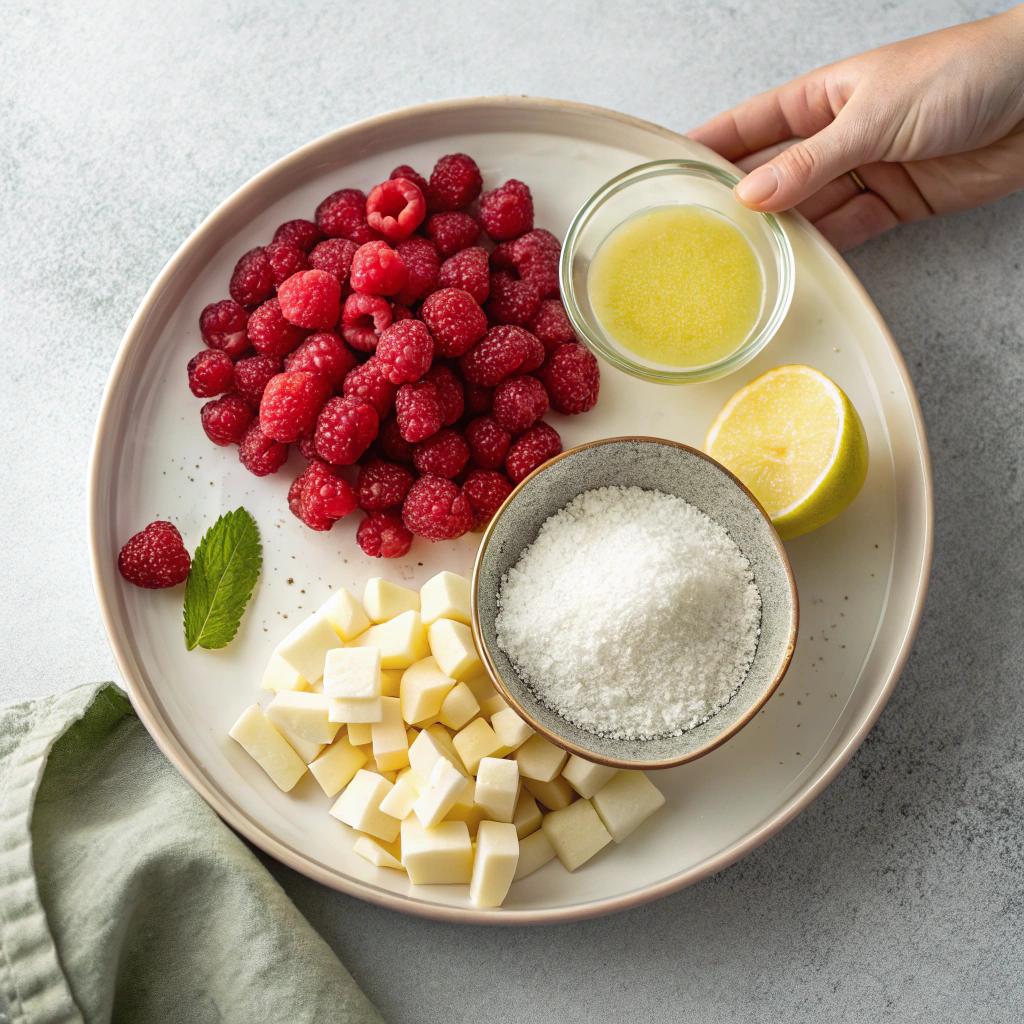
- 8 cups (40 oz/1136 grams) raspberries (fresh or frozen, both work great!)
- 3 cups (24 oz/680 grams) granulated sugar (adjust slightly for sweetness preference)
- ¼ cup (2 fl oz/60 ml) lemon juice (freshly squeezed for best flavor)
- 1 medium Granny Smith apple, grated (about 5 oz/142 g; adds natural pectin for thickening)
How to Make Raspberry Freezer Jam
- Chill a plate: Place a small plate in the fridge to use later for testing the jam’s set.
- Mash the berries: In a large 8-quart, heavy-bottomed saucepan, mash the raspberries with a potato masher until broken up. Leave some lumps for texture.
- Add the rest: Stir in the sugar, lemon juice, and grated apple until well combined.
- Boil the mixture: Place the saucepan on high heat and bring the mixture to a boil.
- Simmer: Reduce the heat to medium and let it actively simmer for about 25 minutes, stirring frequently to prevent scorching. Use a metal spoon to skim off any scum that rises to the surface.
- Test the set: When the jam has thickened and the fruit looks almost translucent, turn off the heat. Place a dollop of jam on the chilled plate and return it to the fridge for 10 minutes. If the jam wrinkles when touched, it’s ready. If it’s still loose, cook it longer.
- Prepare jars: Wash 4 (8 oz) jam jars and lids in hot, soapy water, then dry them well.
- Fill the jars: While the jars are still warm, fill them with the hot jam, leaving ½-inch of space at the top.
- Seal and cool: Screw on the lids and let the jars cool and set at room temperature for at least 12 hours.
- Freeze or refrigerate: Store the jars in the freezer for up to 1 year. To use, thaw in the fridge overnight and keep refrigerated for up to 4 weeks.
Perfect Pairings: Serving Suggestions for Your Raspberry Freezer Jam
This raspberry freezer jam is incredibly versatile! Spread it on warm toast, scones, or pancakes for a sweet breakfast treat. It also makes a delightful topping for yogurt, ice cream, or cheesecake. For a savory twist, pair it with brie or goat cheese on a charcuterie board. The possibilities are endless!
Storage Secrets: Keeping Your Jam Fresh and Flavorful
Once your jam is set, store it in the freezer for up to 1 year for long-term freshness. When ready to use, thaw it overnight in the fridge. Once opened, keep it refrigerated and enjoy it within 4 weeks. Always use clean utensils to avoid contamination and maintain the jam’s quality.
Time-Saving Tips for Jam-Making Success
To streamline the process, prep your ingredients ahead of time—wash and grate the apple, measure the sugar, and juice the lemon. Use frozen raspberries if fresh ones aren’t available; they work just as well. If you’re short on time, skip the scum removal step—it’s optional and won’t affect the flavor.
Recipe Variations: Customize Your Jam
Feel free to experiment with this recipe! Swap raspberries for strawberries, blackberries, or a mix of berries. Adjust the sugar to taste or use honey as a natural sweetener. For a spiced twist, add a pinch of cinnamon or a splash of vanilla extract. Make it your own!
Essential Equipment: Tools You’ll Need
For this recipe, you’ll need an 8-quart heavy-bottomed saucepan to prevent scorching, a potato masher for crushing the berries, and a metal spoon for skimming scum. Don’t forget 8-ounce jam jars with lids for storing your delicious creation. A chilled plate is also key for testing the jam’s set.
The Easiest Raspberry Freezer Jam Recipe
Ingredients
- 8 cups raspberries, fresh or frozen
- 3 cups granulated sugar
- ¼ cup lemon juice
- 1 medium Granny Smith apple, grated about 5 oz/ 142 g
Instructions
- Place a small plate in the fridge to chill for later.
- In a large 8 quart, heavy bottomed saucepan, mash berries with a potato masher until the fruit is broken up. Don’t be afraid to leave lumps of raspberry for texture.
- To the saucepan add sugar, lemon juice, and grated apple. Stir until well combined.
- Place on the stovetop on high heat and bring berries to a boil.
- Lower the heat to medium and allow to actively simmer for about 25 minutes, stirring frequently to keep sugar from scorching.
- As the jam is simmering, use a metal spoon to remove the scum that rises to the surface of the jam.
- When you see the jam has thickened and the fruit is almost translucent, turn off the heat and test the set by adding a dollop onto the cold plate. Place back in the fridge for 10 minutes to chill. If the jam wrinkles when touched then your jam is ready. If it is loose and has spread then place the saucepan back on the stove to cook for longer.
- Wash 4 (8 oz) jam jars and lids in hot soapy water before drying well.
- While the jars are still warm, fill them up to a ½-inch from the top with the hot jam.
- Screw on the lids to allow them to cool and set for at least 12 hours at room temperature.
- To preserve the jam, store the jars in the freezer for up to 1 year. When you want to defrost it just take it out and allow it to thaw in the fridge overnight. Keep it in the fridge for up to 4 weeks.