

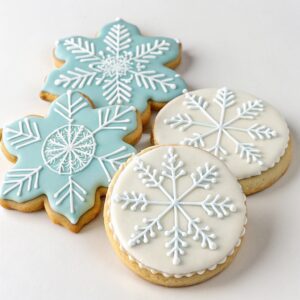
There’s something magical about creating delicate snowflake cookies that are as beautiful as they are delicious. With just a few simple steps and under an hour of baking and decorating, you’ll have a batch of buttery, crisp cookies that melt in your mouth. The smooth icing adds a glossy finish, while the subtle sweetness perfectly complements the rich, vanilla-infused dough. These cookies are not only a treat for your taste buds but also a feast for the eyes, making them perfect for holiday gatherings or cozy winter afternoons.
Decorating these snowflake cookies is a joyful experience that lets your creativity shine. Whether you’re swirling vibrant colors or sprinkling edible glitter, each cookie becomes a unique masterpiece. The contrast of the crunchy edges and soft icing creates a delightful texture that’s irresistible. Share them with loved ones or savor them with a cup of hot cocoa—these cookies are sure to bring warmth and cheer to any moment.
What You’ll Need
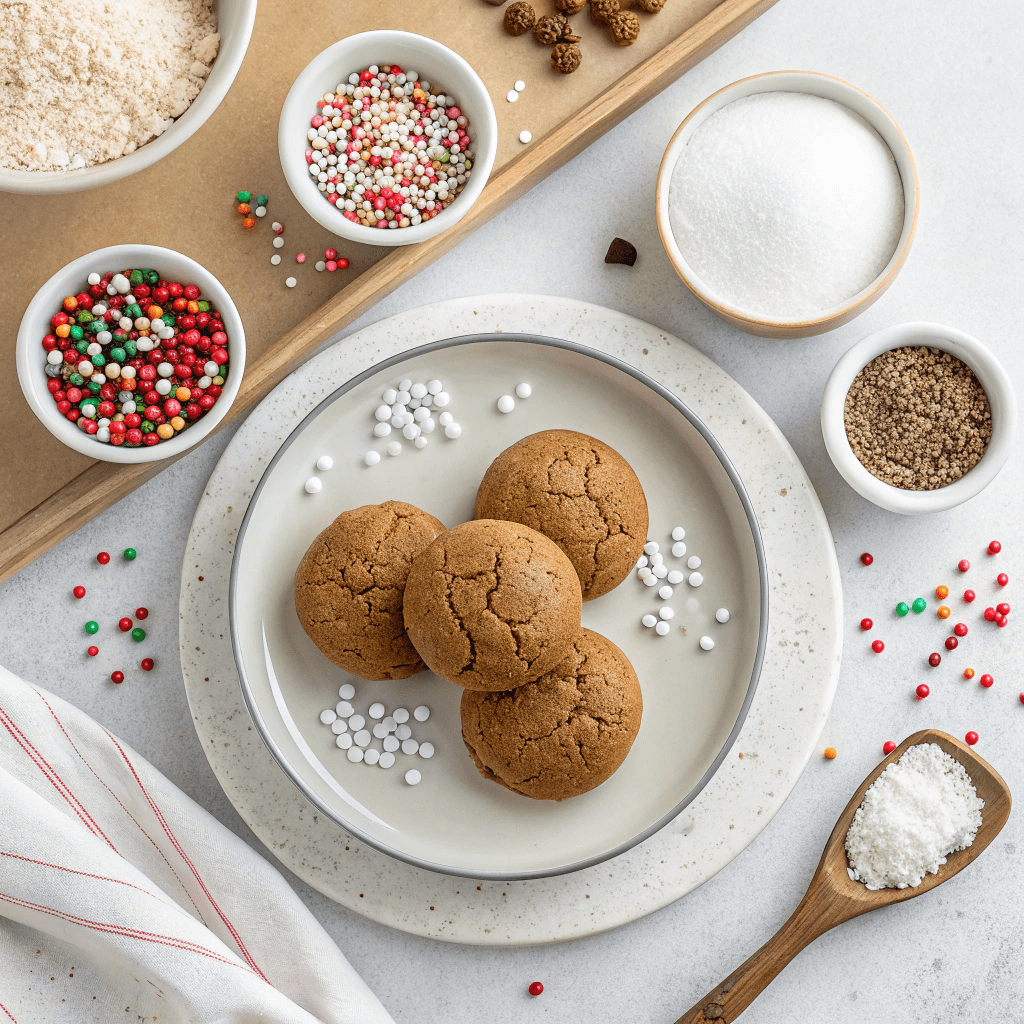
- 1 batch of gingerbread cookie dough (store-bought or homemade)
- 1 batch of royal icing (store-bought or homemade)
- White sprinkles, sanding sugar, or dragees (for decorating)
How to Make Simple Snowflake Cookies
- Preheat the oven to 350°F (175°C). Line two baking sheets with parchment paper and set aside.
- On a floured surface, roll out the cookie dough to 1/4 inch (5mm) thick. Use a snowflake-shaped cookie cutter to cut out as many cookies as possible and place them on the prepared baking sheets, spacing them about 1 inch (3cm) apart.
- Bake the cookies for 10-12 minutes, rotating the pans halfway through, until the surface looks dry. Transfer the cookies to wire racks to cool completely.
- Once the cookies are cool, place them on a work surface or baking sheet. Set up bowls of sprinkles, sanding sugar, or dragees nearby for decorating.
- Place a small amount of royal icing in a piping bag and test the consistency by piping a line onto a plate. It should pipe smoothly and hold its shape. If it’s too thick, add a few drops of water; if it’s too runny, stir in a teaspoon or two of powdered sugar. Test again until the consistency is correct.
- Working with one cookie at a time, pipe a large dot of icing in the center of the snowflake. Then, from the dot, pipe a line of icing down the center of each arm of the snowflake. Add a few small V-shaped branching details from the centerline to the edge of the cookie.
- Before the icing sets, decorate the cookies with sprinkles, sanding sugar, or dragees. Set aside and repeat with the remaining cookies.
- Allow the icing to dry completely before storing the cookies in an airtight container at room temperature for up to 3 days.
Creative Topping Ideas for Your Snowflake Cookies
While white sprinkles, sanding sugar, or dragees are classic choices, don’t be afraid to get creative! Try using edible glitter for a sparkling effect, or mix in colored sprinkles for a festive twist. For a more elegant look, use pearlized dragees or gold luster dust to highlight the snowflake details.
How to Store Your Decorated Cookies for Maximum Freshness
Once the icing has dried completely, store your cookies in an airtight container at room temperature for up to 3 days. To prevent sticking, place a sheet of parchment paper between layers of cookies. For longer storage, freeze the cookies in a single layer before transferring them to a freezer-safe container for up to 1 month.
Time-Saving Tips for Perfect Snowflake Cookies
To streamline the process, prepare your cookie dough and royal icing a day in advance. Use pre-cut parchment paper for easy cleanup, and set up a decorating station with all your toppings and tools within reach. If you’re short on time, skip the intricate piping details and simply dip the cookies in thinned royal icing for a smooth, frosted look.
Essential Equipment for Cookie Decorating Success
Having the right tools makes all the difference! Use a rolling pin with thickness guides to ensure even cookies, and invest in a set of snowflake-shaped cookie cutters for consistent shapes. A piping bag with a small round tip is ideal for detailed icing work, and a rotating cake stand can make decorating easier and more precise.
Common Questions About Snowflake Cookie Decorating
Can I use store-bought icing? Absolutely! Just thin it slightly with water for piping consistency. How do I prevent the cookies from spreading? Chill the dough before rolling and cutting, and avoid overmixing. What if my icing is too runny? Add powdered sugar a teaspoon at a time until it holds its shape.
Simple Snowflake Cookie Decorating
Ingredients
- 1 batch gingerbread cookie dough
- 1 batch royal icing
- White sprinkles (sanding sugar or dragees)
Instructions
- Preheat the oven to 350°F and line two baking sheets with parchment paper. Set aside.
- On a floured surface, roll out the cookie dough to 1/4 inch (5mm) thick, cut out as many snowflakes as you can, and place on the prepared baking sheets, about 1-inch (3cm) apart.
- Bake the cookies for 10-12 minutes, rotating the pans halfway through, until the surface looks dry. Transfer the cookies on the wire racks to cool completely.
- Once completely cool, place the cookies on a work surface or baking sheet.
- Set up bowls of sprinkles, sanding sugar, or dragees nearby.
- Place a small amount of royal icing in your piping bag and check the consistency by piping a line of icing onto a plate. It should pipe smoothly and hold its shape. If it is too thick and doesn’t pipe smoothly, stir in a few drops of water and test again. If it runs, stir in a teaspoon or two of powdered sugar and test again.
- Once the consistency is correct, you can go ahead and fill your piping bag.
- Working with one cookie at a time, pipe a large dot of icing in the center of the snowflake. Then, from the dot, pipe a line of icing down the center of each arm of the snowflake. Pipe a few small v-shaped branching details from the centerline of the icing arms to the edge of the cookie.
- Finally, before the icing has been set, add sprinkles, sanding sugar, or dragees to the cookie. Set aside while you decorate the remaining cookies.
- Allow the icing to dry completely before storing the cookies in an airtight container at room temperature for up to 3 days.

