

Whipping up three luscious homemade cookie butters in just five minutes is easier than you think. Each velvety spread boasts its own unique charm, from rich, caramel-like notes to creamy, spiced warmth. Perfect for slathering on toast, swirling into oatmeal, or simply enjoying by the spoonful, these butters are a game-changer for any snack or dessert. The smooth, indulgent textures and bold flavors will make you wonder why you ever settled for store-bought.
With no cooking required, this recipe is a dream for busy days or last-minute cravings. Whether you’re a fan of classic sweetness, nutty depth, or a hint of cinnamon spice, there’s a cookie butter here to delight your taste buds. Dive into this quick, versatile treat and elevate your pantry staples effortlessly.
What You’ll Need
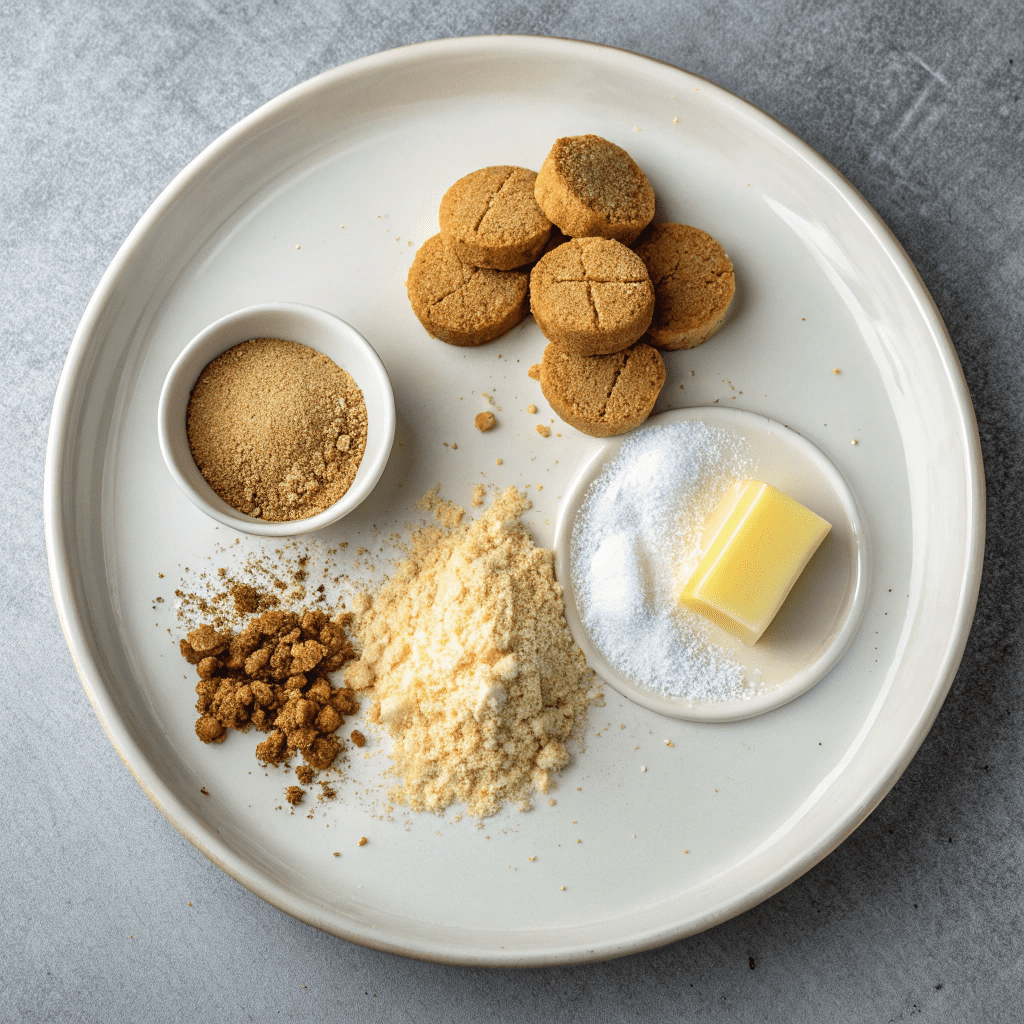
- 2 cups (10oz/280g) Nutter Butter cookie crumbs (about 24 cookies)
- ½ stick (2oz/57g) butter, melted
- ½ cup (4floz/115g) evaporated milk (or substitute with heavy cream for a richer texture)
How to Make It
- Prepare the cookies: Remove the filling from the Nutter Butter cookies.
- Make the crumbs: In a food processor, pulse the cookies until they turn into fine crumbs.
- Combine ingredients: Add the melted butter and evaporated milk to the crumbs. Pulse until the mixture comes together. If the butter is too thin, add more cookie crumbs to achieve a thick consistency.
- Store: Transfer the cookie butter to a jar and refrigerate. It will keep for up to 6 weeks.
Perfect Pairings: Serving Suggestions for Your Cookie Butter
This homemade cookie butter is a versatile treat that can elevate so many snacks! Spread it on warm toast, swirl it into your morning oatmeal, or use it as a dip for apple slices and pretzels. For a decadent dessert, drizzle it over ice cream or incorporate it into your favorite milkshake recipe. The possibilities are endless!
Keep It Fresh: Storage Tips for Long-Lasting Delight
To maintain the richness of your cookie butter, store it in an airtight jar in the refrigerator for up to 6 weeks. If it thickens too much in the fridge, let it sit at room temperature for 10-15 minutes before use. For a smoother consistency, give it a quick stir or gentle reheat in the microwave for a few seconds.
Mix It Up: Exciting Recipe Variations
Feel free to get creative with different cookie bases! Try using Oreos for a chocolate version or gingersnaps for a spicy twist. You can also add mix-ins like chopped nuts, chocolate chips, or a sprinkle of cinnamon. For a nut-free option, skip the Nutter Butters and use graham crackers or shortbread cookies instead.
Kitchen Essentials: Equipment Guidance for Perfect Results
A good food processor is key for achieving that smooth, spreadable texture. Make sure it’s large enough to handle 2 cups of cookie crumbs comfortably. If you don’t have a food processor, a high-powered blender can work, though you may need to scrape down the sides more frequently. Always measure your ingredients accurately for consistent results.
Quick Tips: Time-Saving Tricks for Busy Bakers
To make this recipe even faster, purchase pre-crushed cookie crumbs or use a rolling pin to crush cookies in a zip-top bag. Melt your butter in the microwave in 10-second intervals for precise control. Have your evaporated milk measured and ready before you start processing to streamline the mixing process.
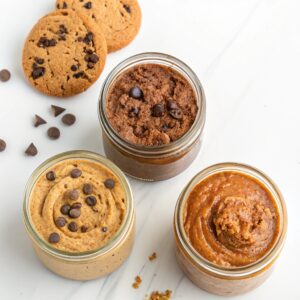
3 Homemade Cookie Butters
Equipment
- food processor
Ingredients
- 2 cups Nutter butters cookie crumbs (10oz/280g) (24 Nutter butters roughly)
- 1/2 stick butter (2oz/57g)
- 1/2 cup evaporated milk (4floz/115g)
Instructions
- Remove the filling in your cookies
- In a food processor pulse your cookies until they resemble fine crumbs
- Add in your melted butter and evaporated milk and pulse until it comes together. If your butter is thin add more cookie crumbs as you want it thick.
- Store in a jar for up to 6 weeks in the fridge.

