
 Recipe")
Who says you need an ice cream machine to whip up creamy, dreamy desserts? With just 20 minutes of prep, you can create six luscious ice cream flavors that are rich, smooth, and bursting with personality. From velvety chocolate to tangy fruit swirls, each bite is a celebration of texture and taste. Perfect for a spontaneous treat or a fun gathering, this recipe proves homemade ice cream can be effortless and indulgent. Whether you’re a fan of classic vanilla or adventurous with mix-ins, these flavors will satisfy every craving. Dive into a world of cool, creamy bliss without the fuss—your freezer is about to become your new best friend.
This no-machine method delivers ice cream that’s delightfully creamy and customizable to your mood. Think silky caramel ribbons, crunchy cookie crumbles, or fresh berry bursts—each flavor is a masterpiece waiting to happen. The simplicity of the process means you can focus on the fun part: experimenting with combinations that excite your palate. In just 20 minutes, you’ll have a freezer stocked with desserts that rival any scoop shop. Gather your favorite ingredients and let your creativity shine. It’s time to turn your kitchen into an ice cream haven, one irresistible flavor at a time.
What You’ll Need
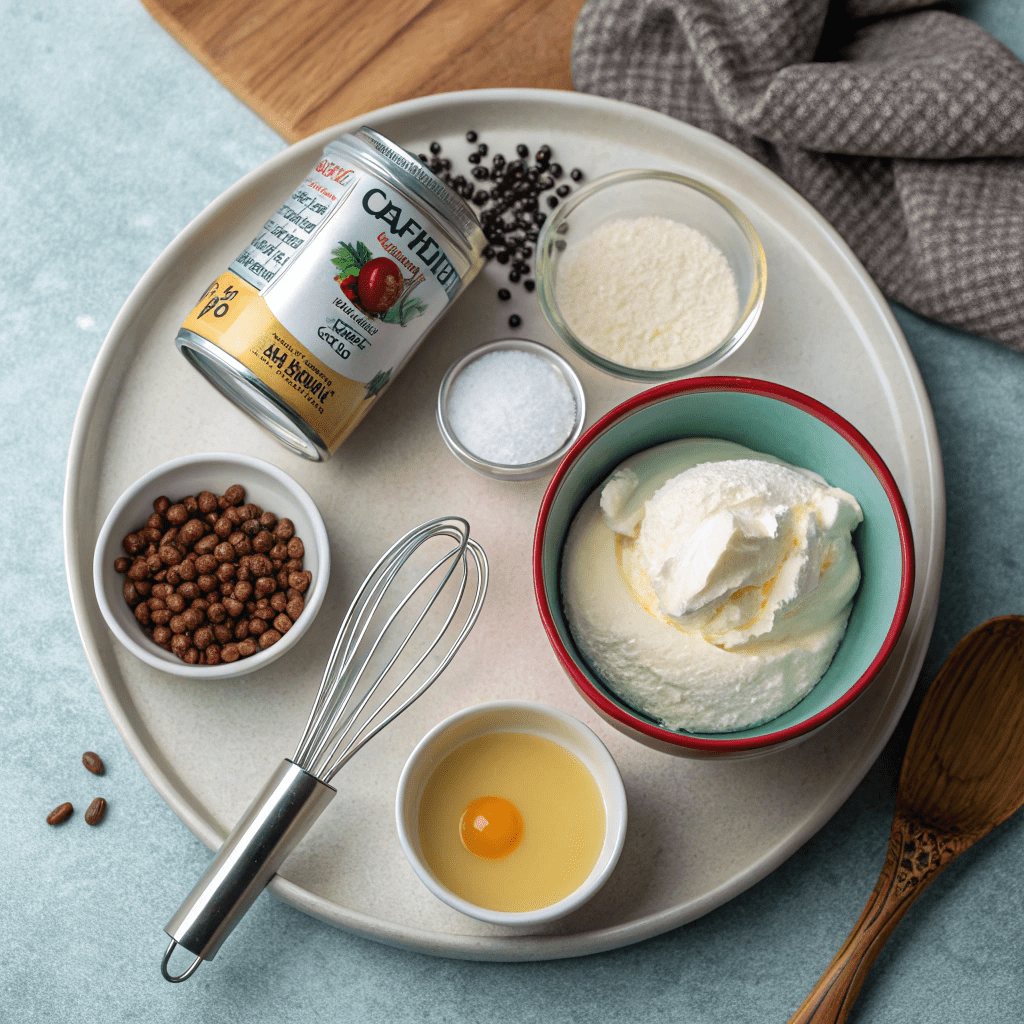
- 2 cups (16 oz/450 ml) cold whipping cream, all-purpose cream, or heavy cream (chill for best results)
- 14 ounces (1 can/400 ml) cold sweetened condensed milk (fat-free or regular, your choice)
- Optional: 1 teaspoon vanilla extract for added flavor
How to Make It
- Chill the ingredients: Place the sweetened condensed milk in the fridge to keep it cold until ready to use.
- Whip the cream: In a stand mixer fitted with the whisk attachment (or using a hand mixer), beat the cold heavy cream on medium speed until stiff peaks form.
- Add the condensed milk: Reduce the mixer speed slightly and slowly pour the cold sweetened condensed milk into the whipped cream. (If using vanilla extract, stir it in now.)
- Whisk until thick: Turn the speed back up to high and whisk until the mixture is thick and forms stiff peaks again. This is your ice cream base.
- Customize your flavors: Add your desired mix-ins, such as chocolate chips, fruit, or nuts, and fold them into the base until evenly distributed.
- Freeze: Transfer the mixture to a large resealable container and freeze for at least 6 hours or overnight. Enjoy within 2 weeks for the best texture.
Flavor Fun: Creative Mix-Ins and Toppings
Transform your ice cream base into a flavor explosion! Try adding crushed cookies for a cookies-and-cream twist, fresh fruit like strawberries or mango for a fruity vibe, or chocolate chips for a classic treat. For a nutty crunch, mix in chopped almonds or peanut butter swirls. Don’t forget toppings like caramel sauce, sprinkles, or whipped cream when serving!
Serve It Up: Presentation Tips
Make your ice cream party extra special by serving in waffle cones or colorful bowls. Add a drizzle of chocolate syrup or a sprinkle of sea salt for a gourmet touch. For a fun twist, layer your ice cream with crumbled brownies or graham crackers to create a DIY ice cream sandwich!
Freeze and Store: Keeping It Fresh
After freezing your ice cream for at least 6 hours, store it in an airtight container to prevent ice crystals. If it hardens too much, let it sit at room temperature for 5-10 minutes before scooping. Your homemade ice cream will stay delicious for up to 2 weeks in the freezer—if it lasts that long!
No Machine? No Problem! Whipping Tips
Using a stand mixer or hand mixer makes whipping cream a breeze. Ensure your cream and condensed milk are cold for the best results. If you’re whisking by hand, use a large bowl and whisk vigorously until stiff peaks form. Patience pays off for that perfect creamy texture!

6 Ice Cream Flavors: Homemade Ice Cream Party (No Machine)
Equipment
- stand mixer or hand mixer
- whisk attachment
- large resealable container
Ingredients
- 2 cups cold whipping cream, all purpose cream, heavy cream
- 14 ounces cold sweetened condensed milk fat-free or regular
Instructions
- Place sweetened condensed milk in the fridge to keep cold.
- Beat cold heavy cream on medium in a stand mixer fitted with the whisk attachment (or using a hand mixer) until stiff peaks form.
- Turn down the speed a little and pour the condensed milk into the whipped cream. (Stir in vanilla extract now if desired).
- Now, turn the speed back up high again and whisk until the mixture is thick and stiff peaks.
- Now you have your ice cream base you can add in your desired flavors and fixing once it is nice and thick. GO NUTS! experiment and enjoy creating something that is all you.
- Place in a large resealable container and freeze at least 6 hours or overnight before eating. Keep for up to 2 weeks.

