

Ever found yourself mid-recipe only to realize you’re out of self-raising flour? With just 5 minutes and two pantry staples, you can whip up a batch that’s just as light and airy as the store-bought kind. This simple trick ensures your baked goods rise beautifully, with a soft, tender crumb that’s perfect for cakes, muffins, and more. No more last-minute store runs—just fluffy, golden results every time.
This homemade version lets you control the quality of your ingredients, giving your bakes a fresher, more wholesome flavor. The fine, powdery texture blends seamlessly into batters, creating a smooth consistency that’s a joy to work with. Whether you’re a seasoned baker or just starting out, this quick fix is a game-changer for your kitchen adventures.
What You’ll Need
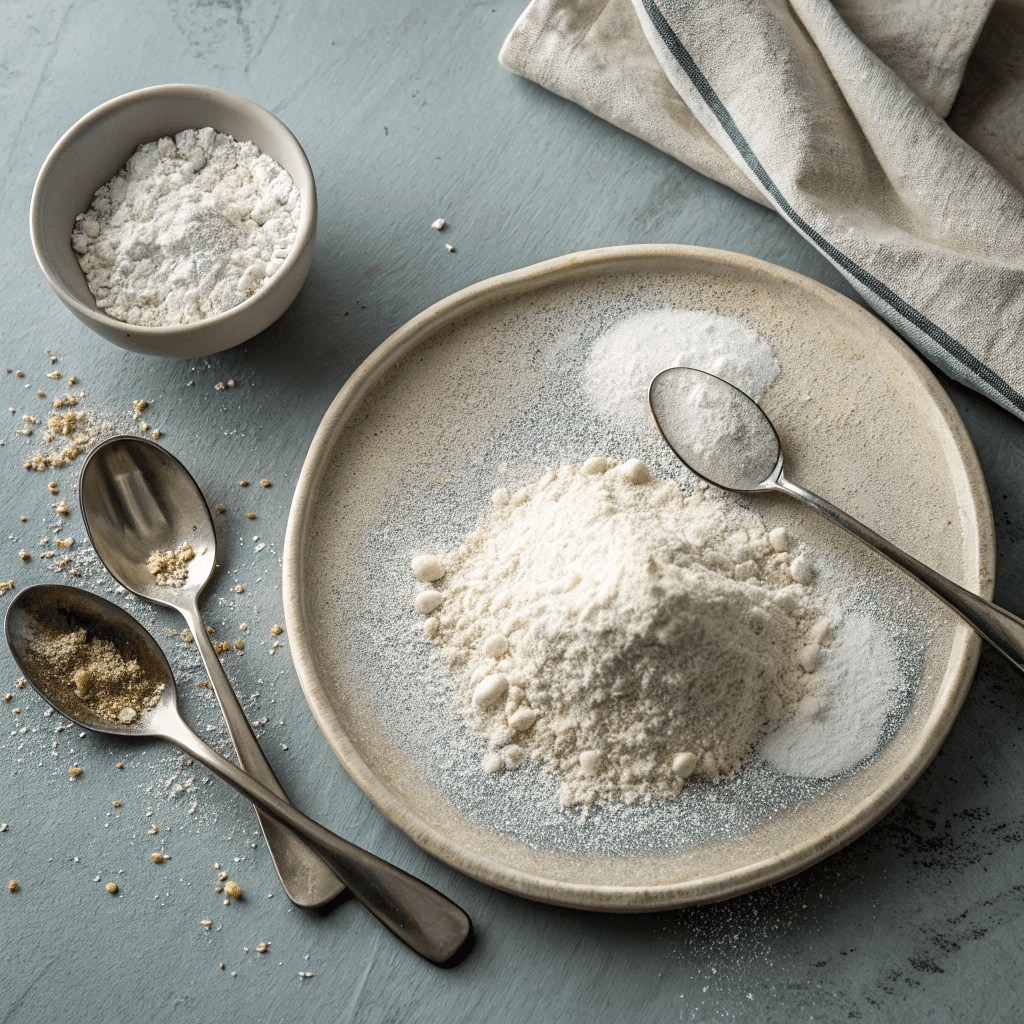
- 1 cup (5oz/142g) all-purpose flour (use a kitchen scale for accuracy if possible)
- 2 teaspoons baking powder (ensure it’s fresh for best results)
Step-by-Step Instructions
- Measure the ingredients: For every 1 cup of all-purpose flour, measure out 2 teaspoons of baking powder.
- Combine and sift: Add the flour and baking powder to a sifter or fine-mesh sieve. Sift them together into a bowl to ensure the baking powder is evenly distributed throughout the flour.
- Store properly: Transfer the self-raising flour to an airtight container. Label the container with the name “Self-Raising Flour” and the date you made it.
- Use promptly: Use the self-raising flour within 8 weeks for optimal results.
Why Make Your Own Self-Raising Flour?
Making self-raising flour at home is a *game-changer* for bakers. It’s quick, easy, and ensures you always have it on hand when a recipe calls for it. Plus, you can customize the quantity to match your needs, avoiding waste.
Storage Tips for Freshness
Store your homemade self-raising flour in an *airtight container* in a cool, dry place. Label it with the date you made it, and use it within *8 weeks* for the best results. This ensures the baking powder stays active and your baked goods rise perfectly.
Recipe Variations to Try
Experiment with different types of flour! For a *gluten-free* option, use gluten-free all-purpose flour. You can also add a pinch of salt to enhance flavor, especially for savory recipes like biscuits or scones.
Time-Saving Tips for Busy Bakers
Make a larger batch of self-raising flour ahead of time to save time later. For example, mix *4 cups of flour* with *8 teaspoons of baking powder* and store it. This way, you’re always ready to bake without measuring each time!
Common Questions Answered
Wondering if you can use self-raising flour for all recipes? It’s best for cakes, muffins, and quick breads, but *avoid* it in recipes that call for yeast or precise leavening. Always check your recipe to ensure it’s the right fit!

How to Make Self-Raising Flour
Ingredients
- 1 cup all-purpose flour 5oz/142g
- 2 teaspoons baking powder
Instructions
- For every 1 cup of flour you need, simply add the baking powder to the flour.
- Sift the flour and baking powder together into a bowl before using, to make sure the baking powder is thoroughly distributed.
- Label an airtight container with the name and date so you remember what it is and when you made it. Use within 8 weeks.

